Vegetables
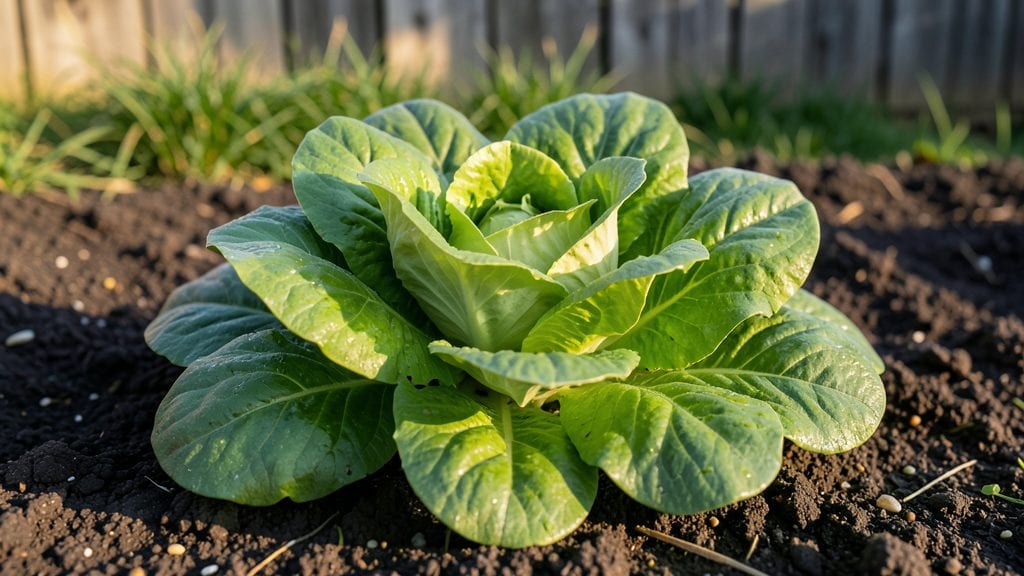
Designing a vegetable garden that feeds you year-round in just a few square feet changed everything for me. 🌱 The key isn't more space—it's smarter layout, companion planting, and choosing crops that thrive in succession.
My 4'x8' raised bed now produces more fresh greens, tomatoes, and herbs than my old 400-square-foot plot ever did.
Start with your sunniest spot and measure carefully—most vegetables need at least 6 hours of sunlight daily. Divide your space into zones: one for heavy feeders like tomatoes, another for leafy greens that grow fast, and a third for root crops.
Add vertical space with trellises for peas and cucumbers, freeing up precious ground area. I even tucked in strawberries along the edges to maximize every inch.
What you'll end up with is a garden that never feels crowded, produces food continuously from spring to fall, and handles pests better through natural diversity. The first harvests come in just 6-8 weeks for fast growers like radishes and lettuce, while tomatoes and peppers keep giving through summer's end.
Even winter greens like kale and spinach thrive with a simple cold frame.
This approach works for balconies, backyards, or community plots—anywhere you can spare a few square feet. The real secret? Treating your garden like an ecosystem, not just a plot. Let's get growing smart!
📚 In This Guide
- What you need
- Instructions
- Tips and common mistakes
- Wrapping up and next steps
What you need
- ● Containers or Raised Beds: 5–10 10–15 gallon containers (for tomatoes, peppers, herbs) or 4’x8’ raised beds (for root veggies like carrots/radishes).
- ○ Self-watering planters (optional but 💡 game-changing for drought-prone spots!).
- ● Growing Medium: 3–5 50-lb bags of high-quality potting mix (look for "organic" or "vegetable garden blend").
- ● 1–2 cubic yards of compost (homemade or store-bought).
- ○ Perlite or vermiculite (1–2 bags for drainage, optional).
- ● Seeds & Seedlings: Fast growers: Lettuce, radishes, green onions (start with 10–20 seeds per container).
- ● Medium-term: Bush beans, kale, Swiss chard (5–10 plants per bed).
- ● Long-term: Tomatoes, peppers, eggplants (2–4 plants per container).
- ● Herbs: Basil, cilantro, parsley (5–10 plants).
- ● Tools: Hand trowel ($5–$10)
- ● Pruners ($8–$15)
- ● Garden gloves (1 pair, $10–$20)
- ○ Watering can or hose with soaker nozzle (optional but 🌡️ water-efficient).
- ● Drip irrigation system (saves time + water!).
- ● Grow lights (for winter or low-light spots).
- ● Plant markers (label seeds with popsicle sticks!).
- ● Fish emulsion or compost tea (organic fertilizer boost).
- ● Row covers (protect from pests/insects).
Step-by-step instructions for R vegetable gardening in small spaces
Small spaces need smart planning—here's how to maximize every square foot.
🪴 Step 1: Design Your Raised Bed Layout
Start by sketching your space on paper. Since we're working with 4 raised beds (each 4' x 2'), arrange them to catch sunlight. Place taller plants like tomatoes and peppers on the north side of each bed to avoid shading shorter crops. I like to position beds east-west for even sun exposure throughout the day.
Divide each bed into 4 quadrants—this makes crop rotation easier later. Mark planting zones with small stakes or chalk. Remember, 6-8 hours of direct sun is ideal, so avoid placing beds under large trees or structures. If your space gets less light, focus on leafy greens and herbs instead of heavy producers like squash.
🌱 Step 2: Prepare Soil and Plant Your First Rotation
Fill each bed with 2 cubic feet of compost mixed into the top 6 inches of soil. This ensures nutrients are concentrated where roots will grow. For our 4 beds, that’s 8 cubic feet total—spread evenly and fork in gently to avoid compacting. I add a handful of balanced organic fertilizer (like 10-10-10) per square foot to kickstart growth.
Start with fast-growing crops like lettuce, radishes, and bush beans in the first rotation. Plant seeds ½ inch deep, spacing them according to packet instructions. For example, radishes should be 1 inch apart, while bush beans need 3-4 inches. Water immediately after planting to settle the soil around seeds.
☀️ Step 3: Implement Succession Planting for Year-Round Harvests
After harvesting your first crop (usually in 4-6 weeks), clear the bed and add another 1 inch of compost. This replenishes nutrients without overloading the soil. For our 4 beds, rotate crops like this: spring (lettuce, radishes), summer (tomatoes, peppers), fall (kale, carrots), and winter (spinach, arugula under row covers).
Use shade cloth in summer to protect heat-sensitive greens. I keep a 30% shade cloth handy—it blocks enough sun to prevent bolting while still allowing growth. Check soil moisture daily; raised beds dry out faster. Water at the base of plants in the morning to reduce evaporation and fungal risks.
✂️ Step 4: Maintain and Extend the Growing Season
Prune regularly to encourage bushier growth. For tomatoes, pinch off suckers (the small shoots in the leaf axils) to direct energy to fruit production. Harvest every 2-3 days—this prevents overcrowding and encourages more production. For leafy greens, cut outer leaves first, leaving the center to regrow.
Extend seasons with row covers in fall and cold frames in winter. A simple clear plastic dome over a bed can add 4-6 weeks of growing time. Monitor for pests—aphids and cabbage worms love tender young plants. I spray with neem oil weekly as prevention; it’s organic and safe for edibles.
⏰ Step 5: Plan for Winter and Reset for Spring
In late fall, remove spent plants and add 2 inches of straw mulch to protect soil from freezing. This also suppresses weeds and retains moisture. For our 4 beds, that’s 8 square feet total—spread evenly. In early spring, remove mulch and add fresh compost before planting the next rotation.
Rotate crops annually to prevent soil depletion and disease buildup. Keep a simple log of what you planted where—this helps track patterns. With this system, you’ll have continuous harvests and never waste space. The key is observation: watch your plants’ progress and adjust timing as needed.
Tips & tricks for perfect small-space vegetable gardening
Here's the secret to making every square foot count in your raised beds—these tricks will help you grow more with less space.
The Sunlight Factor: That 6-8 hours of direct sun requirement is non-negotiable for most vegetables. I've found that positioning beds east-west gives the most consistent sunlight throughout the day. If your space gets less light, prioritize leafy greens like spinach and lettuce—they'll still thrive with 4-6 hours of sun, while tomatoes and peppers will struggle below 6 hours. Consider using reflective surfaces like white walls or mirrors to bounce extra light onto shaded areas.
Compost Strategy: The 2 cubic feet of compost per bed is your secret weapon for nutrient-dense soil. I always mix in an extra handful of worm castings (if available) for that extra boost of microbial activity. For our 4 beds, that 8 cubic feet total might seem like a lot, but it's worth the effort—compost breaks down slowly and keeps feeding your plants all season. Save your kitchen scraps and coffee grounds to make your own compost over time.
Succession Planting Hack: That 4-6 week window between harvests is your golden opportunity for continuous production. I like to plant fast growers like radishes every 2 weeks in spring and fall—this way, you're always harvesting something fresh. For summer crops, stagger your tomato and pepper plantings by 2 weeks to extend the harvest season. This method ensures you're never without fresh produce from your small space.
Pest Prevention: The weekly neem oil spray is my go-to for organic pest control, but I've also found that introducing beneficial insects like ladybugs and lacewings can reduce aphid populations naturally. For cabbage worms, I've had great success with row covers—just make sure to secure them tightly so pests can't sneak in. A quick inspection every morning helps catch problems before they spread.
Pro Tips for R Vegetable Gardening
- Here's the secret to making every square foot count in your raised beds—these tricks will help you grow more with less space.
- The Sunlight Factor: That 6-8 hours of direct sun requirement is non-negotiable for most vegetables.
- Compost Strategy: The 2 cubic feet of compost per bed is your secret weapon for nutrient-dense soil.
Frequently asked questions
Got questions about maximizing your R vegetable gardening space? You’re not alone! Here are answers to the most common queries—whether you're a beginner or a seasoned green thumb looking to optimize your harvest.
What are the easiest R vegetables to grow for beginners?
Start with radishes (ready in 3-4 weeks!) and green onions—both thrive in small containers and tolerate cooler weather. Leafy greens like lettuce and spinach are also low-maintenance and perfect for beginners. These crops are forgiving, fast-growing, and ideal for R vegetable gardening in tight spaces.
How do I extend the growing season for R vegetables in cold climates?
Use row covers or cold frames to protect plants like kale and carrots from frost. For even longer seasons, try interplanting (e.g., radishes after early greens) or succession planting every 2-3 weeks. R vegetable gardening can happen year-round with the right tools—just check your frost dates!
Can I grow R vegetables in containers if I don’t have a yard?
Radishes, bok choy, and bush beans thrive in 5-gallon pots or deeper containers. Just ensure they get 6+ hours of sunlight and well-draining soil. For R vegetable gardening in apartments, opt for vertical planters or hanging baskets for herbs like cilantro or parsley.
What’s the best way to keep pests away from my R vegetables?
Prevent pests with row covers, companion planting (e.g., marigolds near carrots), or organic sprays like neem oil. For R vegetable gardening, rotate crops yearly to disrupt pest cycles. Handpick bugs early—especially aphids on greens—and remove damaged leaves promptly to avoid spread.
How do I troubleshoot stunted or yellowing R vegetables?
Yellowing leaves often signal overwatering or nutrient deficiency (try a balanced fertilizer). Stunted growth? Check for poor soil drainage or lack of sunlight. For R vegetable gardening, test your soil’s pH (most veggies prefer 6.0–7.0) and amend with compost if needed. Adjust watering—most R veggies hate soggy roots!
Wrapping up and next steps
R vegetable gardening proves that small spaces can yield big harvests—no matter the season! 🌱 By embracing vertical gardening, container growing, and smart crop rotation, you’ll enjoy fresh, homegrown produce year-round while keeping your garden thriving.
Whether you’re a beginner or a seasoned green thumb, the key is to start small, stay consistent, and adapt.
Ready to dig in? Pick one plant to try this week—maybe a hardy kale or a compact tomato—and watch your confidence (and harvest!) grow. Happy gardening! 🌿