How To
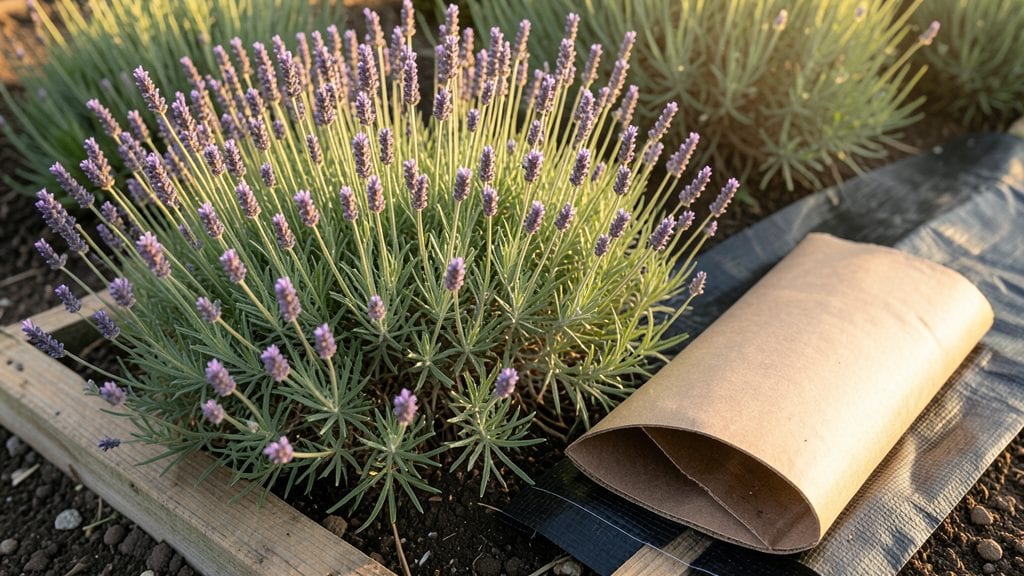
What to put under raised garden beds is the secret to turning them into thriving, problem-free foundations for your plants—skipping this step is like building a house without one. 🌱 creep in fast.
The materials you choose affect drainage, weed growth, and even how well your soil retains nutrients over time.
Cardboard, straw, or composted leaves work beautifully for natural weed barriers and soil enrichment, while landscape fabric or gravel can improve drainage in heavy clay soils. My first raised bed failed because I used nothing underneath—weeds took over within weeks.
Now I layer cardboard topped with compost for a foolproof setup that lasts years.
You’ll end up with soil that stays loose, drains properly, and feeds plants all season long. The best part? No more digging up stubborn weeds or watching water pool around your beds. This simple step transforms your garden’s health from good to exceptional—and keeps your back from aching too.
Works for vegetable beds, flower gardens, or even container setups—just adjust the materials based on your soil type. Let’s build that perfect foundation together!
Root Causes of Poor Bed Performance
Understanding why raised garden beds underperform starts with the foundation—or lack thereof. Without proper underlayering, plants struggle to thrive due to a mix of physical, biological, and environmental factors. Here’s why these issues arise and how they sabotage your garden’s success:
🌱 The Problem: When raised beds sit on hard, compacted soil or clay, roots can’t expand downward, leading to stunted growth or rot. Water pools instead of draining, suffocating roots and inviting fungal diseases.
Why It Happens:
- Natural Soil Density: Clay or compacted native soil acts like a brick, restricting root penetration. Even with raised beds, pressure from foot traffic or machinery can compress the subsoil further.
- Lack of Aeration: Compacted layers trap air pockets, creating anaerobic zones where beneficial microbes suffocate. Roots, deprived of oxygen, weaken and become susceptible to pathogens like Phytophthora.
- Waterlogging: Without a permeable underlayer, excess moisture sits against the bed’s base, drowning roots. This is especially critical in rainy climates or areas with high water tables.
Actionable Fix: Break up compacted soil with a broadfork or add 3–6 inches of coarse material (like gravel or decomposed granite) to create drainage pathways. For heavy clay, consider sand or perlite in the underlayer to improve porosity.
🔄 The Problem: Raised beds rely on the soil inside them for nutrients, but if the underlayer doesn’t support microbial activity or nutrient cycling, plants starve—even with rich topsoil.
Why It Happens:
- Microbe Barriers: Hardpan or plastic sheeting under beds can block beneficial fungi (like mycorrhizae) and earthworms from migrating upward. These organisms break down organic matter, releasing nutrients plants need.
- Nutrient Runoff: If the underlayer is too porous (e.g., pure gravel), water leaches nutrients through the bed instead of holding them for roots. Over time, this depletes fertility faster than top-dressing can replenish it.
- pH Imbalances: Some underlayers (like untreated wood chips or acidic mulch) alter the bed’s pH over time, locking out essential nutrients like phosphorus or calcium.
Actionable Fix: Use carbon-rich materials (like composted leaves or straw) in the underlayer to feed microbes. Avoid plastic or treated lumber, which create physical and chemical barriers. For nutrient retention, add a thin layer of compost or worm castings at the base before filling the bed.
🐜 The Problem: Gaps or organic debris under beds invite pests (slugs, grubs, rodents) and weeds to creep upward, undermining your plants’ health.
Why It Happens:
- Open Pathways: If the underlayer is loose (e.g., straw or wood chips), pests burrow through to feast on roots or lay eggs. Weeds with shallow rhizomes (like crabgrass) exploit cracks in the bed’s base to sprout.
- Moisture Retention: Organic underlayers (like untreated wood) hold moisture, creating ideal conditions for fungal pests like armillaria (honey fungus) or soil-dwelling insects.
- Lack of Barriers: Without a physical or chemical deterrent (like cardboard or landscape fabric), invasive species hitch a ride from the ground into your bed.
Actionable Fix: Line the bed base with cardboard or landscape fabric (with holes for drainage) to block weeds and pests. For organic beds, use gravel or sand to deter burrowing insects. Add diatomaceous earth or neem cake to the underlayer for natural pest control.
🌡️ The Problem: Beds on bare soil or reflective surfaces (like concrete) experience extreme temperature swings, shocking roots and reducing growth.
Why It Happens:
- Heat Absorption: Dark or dense underlayers (e.g., black plastic or wet clay) absorb heat during the day and radiate it back at night, creating root stress. Delicate plants like lettuce or strawberries bolt or rot.
- Cold Penetration: In winter, uninsulated beds freeze deeper, damaging perennial roots or killing overwintering crops. Spring planting becomes delayed as the soil warms unevenly.
- Moisture Loss: Porous underlayers (like sand) dry out faster, forcing plants to expend energy seeking water instead of growing.
Actionable Fix: Use insulating layers like straw, leaves, or even a thin layer of compost to moderate temperatures. For heat-sensitive crops, add a reflective mulch (like white gravel) under the bed to deflect sunlight. In cold climates, extend the growing season with black plastic or bubble wrap under the underlayer to retain heat.
🏗️ The Problem: Weak or uneven underlayers cause beds to sink, tilt, or crack over time, ruining aesthetics and plant health.
Why It Happens:
- Uneven Support: Soft or erodible soil (like loose sand or peat) shifts under the bed’s weight, causing sagging. Over time, this compresses the topsoil and distorts plant spacing.
- Moisture Expansion: Clay or organic materials (like untreated wood) expand when wet and shrink when dry, creating gaps or lifting the bed edges.
- Lack of Weight Distribution: Lightweight underlayers (e.g., pure straw) can’t support the bed’s weight, leading to collapse—especially in windy or rainy conditions.
Actionable Fix: Use stable, non-compressible materials like gravel, decomposed granite, or a mix of sand and compost to create a firm base. For heavy beds, add a layer of hardware cloth to prevent soil erosion from beneath. Avoid pure organic layers (like wood chips alone) unless they’re fully decomposed.
Layering Solutions for Stronger Roots
Now that you understand the challenges—whether it’s poor drainage, nutrient loss, or pesky weeds—let’s tackle them with practical, step-by-step fixes. The right base layers will transform your raised beds into a thriving ecosystem where plants flourish and problems fade away.
If water pools instead of draining, your plants will drown, and roots will rot. Here’s how to create a fast-draining, breathable foundation:
🔥 Step 1: Break Up Compacted Soil
- Use a shovel or garden fork to loosen the native soil beneath your bed.
Compacted soil acts like a barrier, trapping water. - Pro Tip: If the ground is rock-hard, consider removing the top 6–12 inches of soil and replacing it with a gravel or sand layer (more on this below).
🍳 Step 2: Add a Drainage Layer (Non-Negotiable!)
- Option 1 (Best for Heavy Clay): Spread 2–4 inches of coarse gravel (¼-inch or larger) or crushed stone at the bottom.
- Option 2 (Budget-Friendly): Use landscape fabric (with holes) over the soil, then add 1–2 inches of sand or composted wood chips to prevent clogging.
- ✨ Prevention Tip: Avoid fine sand or mulch—these compact over time and reduce drainage.
👨🍳 Step 3: Balance with a "Wicking" Layer
- Top the drainage layer with 1–2 inches of perlite, vermiculite, or small pebbles. This helps wick excess water away while allowing roots to access moisture when needed.
If your soil leaches nutrients too quickly, plants will look weak and stunted. Lock in fertility with these layers:
🥘 Step 1: Start with a Carbon-Rich Base
- Spread 4–6 inches of carbon sources (like composted leaves, straw, or wood chips) over the drainage layer.
This prevents nutrient runoff and feeds soil microbes. - 💡 Pro Tip: Avoid fresh wood chips—they rob nitrogen as they decompose. Use well-aged hardwood instead.
🔪 Step 2: Layer in Organic Matter
- Add 2–4 inches of compost (a mix of manure, worm castings, and kitchen scraps).
- For long-term fertility, include:
- 1–2 inches of biochar (retains nutrients like a sponge).
- A handful of bone meal or rock phosphate (for phosphorus-loving plants like tomatoes).
- Greensand or kelp meal (for potassium and trace minerals).
⏰ Step 3: Seal the Deal with a Mulch Top Layer
- Finish with 2–3 inches of mulch (straw, shredded leaves, or pine needles) to slow moisture evaporation and suppress weeds.
- 🌡️ Prevention Tip: Replenish mulch every 3–6 months to maintain soil health.
Unwanted invaders steal nutrients and spread diseases. Smother them before they start:
🔥 Step 1: Block Light with Cardboard or Newspaper
- Lay 2–3 sheets of unbleached cardboard (no tape or staples!) or thick newspaper over the native soil before adding layers.
- ✨ Why? This blocks weeds while breaking down into compost.
🍳 Step 2: Use a Weed Barrier Fabric (Optional but Helpful)
- If weeds are persistent, add landscape fabric with holes (not solid sheets—roots need air!).
- 💡 Pro Tip: Poke holes in the fabric before laying it down to allow water and root penetration.
👨🍳 Step 3: Add Natural Pest Deterrents
- Mix in crushed eggshells (deters slugs) or diatomaceous earth (keeps insects away).
- Plant companion plants like marigolds or basil at the edges—they repel pests naturally.
Need a fast solution? Here’s a ready-to-layer breakdown for common issues:
| Problem | Solution Layers (Bottom to Top) | Prevention Tip |
|---|---|---|
| Poor Drainage | Gravel (2") → Sand (1") → Perlite (1") → Compost (4") | Test soil drainage before building. |
| Nutrient Loss | Wood chips (2") → Compost (3") → Biochar (1") → Mulch (2") | Rotate crops yearly to balance nutrients. |
| Weeds & Pests | Cardboard → Gravel (1") → Compost (3") → Mulch (3") | Inspect beds weekly for early signs. |
Final Thought: The key to long-term success is layering intentionally. Start with drainage, build fertility, and finish with protection—your plants will thank you with bigger blooms, juicier veggies, and fewer headaches! 🌿💚
Frequently asked questions
Do I really need anything under my raised garden beds?
Yes! Without proper underlayering, your beds can suffer from poor drainage, weed invasions, or nutrient loss. A simple cardboard barrier topped with compost or gravel prevents weeds, improves drainage, and protects roots from temperature extremes. Skipping this step often leads to waterlogged soil or stubborn weeds creeping up from below.
What’s the best material to block weeds under raised beds?
Use unbleached cardboard or thick newspaper (no glossy ink) as your first layer. It blocks light to kill weeds while breaking down naturally. For long-term weed control, add landscape fabric with holes (to allow drainage) underneath the cardboard. Avoid plastic sheets—they trap heat and prevent root penetration.
Can I use grass clippings under my raised beds?
Fresh grass clippings are a no-go—they mat down and create a thick, smothering layer that blocks drainage and traps moisture, leading to rot. Instead, use dried leaves, straw, or well-composted grass clippings (fully decomposed) as part of your organic layer. Always avoid anything that compacts or creates anaerobic conditions.
How thick should the drainage layer be?
Aim for 2–4 inches of coarse material like gravel, crushed stone, or perlite. This creates enough space for water to escape while supporting the bed’s weight. If your soil is particularly dense (like clay), consider 6 inches for better drainage. Avoid fine sand—it compacts over time and reduces effectiveness.
Will using plastic under my raised beds harm plants?
Yes, plastic can cause problems. It blocks beneficial microbes and earthworms from migrating upward, disrupts root growth, and traps heat in summer (or cold in winter). If you must use plastic (e.g., for weed control), opt for perforated landscape fabric and limit it to 1–2 seasons. Organic alternatives like cardboard or straw are far better long-term.