
Advice
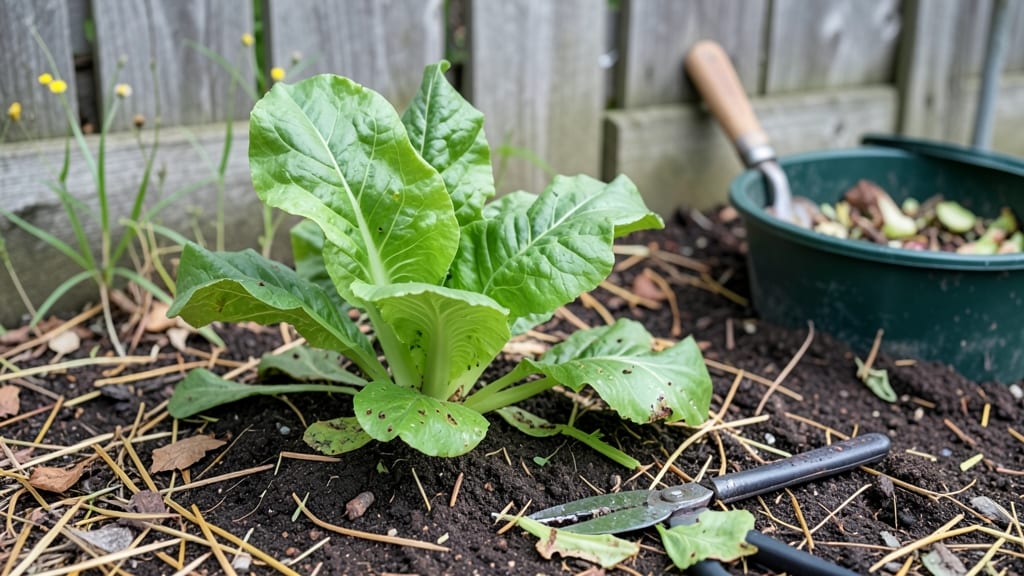
My organic gardening tips start with one simple truth: healthy soil means healthy plants, and the secret isn’t complicated—it’s consistent. I’ve spent years turning tired garden beds into thriving ecosystems where worms outnumber weeds, and the only fertilizer I use is what I make myself.
The payoff? Plants that fight off pests naturally, grow faster, and produce food that tastes better than anything from the store. No chemicals, no mystery—just science you can see working in your own backyard.
You don’t need fancy tools or a green thumb to get started. A basic compost pile (or even a bin under the sink), a few inches of mulch, and a handful of native plants are all you need to begin.
I’ll show you how to turn kitchen scraps into rich compost in just 3-6 months, how to read your soil like a map, and which plants repel pests without a single spray. The best part? These methods work year-round, whether you’re battling summer heat or winter’s slow creep.
Imagine harvesting tomatoes that burst with flavor, carrots so sweet they taste like candy, and herbs that keep producing long after store-bought ones have wilted. That’s the power of organic gardening—no shortcuts, just steady, science-backed care.
You’ll learn to spot soil hunger before it happens, choose the right mulch for your climate, and even make your own pest-fighting sprays from ingredients already in your pantry. No guesswork, just results that keep getting better with every season.
Whether you’re a first-time gardener or a veteran looking to refine your approach, these tips cut through the noise to focus on what actually works. We’ll tackle everything from composting to companion planting, so you can spend less time troubleshooting and more time enjoying the garden you’ve always wanted.
Let’s get those roots growing strong—naturally.
📚 In This Guide
- What you need
- Instructions
- Tips and common mistakes
- Wrapping up and next steps
What you need
- ● Compost: 2–3 cubic yards (or enough to amend 1 inch of topsoil per 100 sq ft). Use finished compost (dark, crumbly, and earthy-smelling).
- ● Organic Mulch: Straw, wood chips, or shredded leaves (2–4 inches thick). Avoid dyed or chemically treated mulch.
- ● Soil Amendments: Worm castings (1–2 lbs per 10 sq ft)
- ● Kelp meal or fish emulsion (for micronutrients, follow package rates)
- ● Crushed eggshells (for calcium, 1 cup per plant)
- ● Organic Fertilizers: Choose one: compost tea, bone meal (for phosphorus), or greensand (for potassium).
- ● pH Test Kit: Digital or liquid test strips to monitor soil pH (aim for 6.0–7.0 for most veggies).
- ● Garden Fork: Heavy-duty (18–24 inches) for aerating soil.
- ● Hand Trowel: Stainless steel or ergonomic (6–8 inches) for precision planting.
- ● Pruners: Bypass pruners (sharp and clean) for trimming.
- ● Watering Can or Hose with Adjustable Nozzle: Gentle spray setting to avoid soil erosion.
- ● Gloves: Heavy-duty garden gloves (water-resistant).
- ○ Optional (But Helpful!): Soil thermometer (to track seed-starting temps)
- ● Rain gauge (for tracking watering needs)
- ● Compost bin or tumbler (for on-site composting)
- ● Sunlight Assessment: Map your garden’s sunlight exposure (full sun = 6+ hours/day; partial shade = 3–6 hours).
- ● Drainage Check: Dig a 12-inch hole, fill with water, and time how long it drains (ideal: <24 hours).
- ● Local Climate Knowledge: Research your USDA hardiness zone and frost dates.
- ● Test Soil Health: Send a sample to a local extension office (or use a home test kit) for nutrient analysis.
Instructions: year-round soil health in 5 simple organic practices
Healthy soil is the foundation of any thriving garden. These five organic methods keep your soil vibrant through every season without complicated routines.
Build Soil with Compost and Organic Matter
Start by mixing 2-3 inches of finished compost into the top 6 inches of soil each spring and fall. I like to use a broadfork to loosen the soil first—this creates air pockets while disturbing fewer roots than a tiller. The compost adds essential nutrients while improving soil structure, so it holds moisture better and drains properly.
For sandy soil, add 1-2 inches of coconut coir or peat moss to help retain water. In clay-heavy soil, incorporate shredded leaves or straw to lighten the texture. Work the organic matter in until the soil looks dark and crumbly—this is your signal that air and microbes can move freely through it.
Mulch to Protect and Feed Soil
Spread 3-4 inches of organic mulch, like straw or wood chips, over the soil surface after planting. This keeps moisture in during hot months and insulates roots in winter. I always leave a 1-inch gap around plant stems to prevent rot from trapped moisture.
Refresh the mulch layer every 3-4 months as it breaks down. Over time, it decomposes into the soil, adding nutrients naturally. If you notice weeds sprouting through, simply pull them before they compete with your plants—this also aerates the soil slightly.
Plant Cover Crops in Off-Seasons
When your garden beds are empty, sow cover crops like clover or winter rye to prevent erosion and add nitrogen. These plants grow aggressively, protecting the soil from heavy rain while their roots break up compacted earth. I plant cover crops in late summer or early fall, letting them grow until they flower, then till them under in spring.
If you don’t want to till, simply mow the cover crops down and leave them on the soil as mulch. This "green manure" decomposes slowly, feeding the soil over time. Watch for signs of nutrient depletion—if plants look pale or stunted, it’s time to add more compost.
Use Organic Fertilizers for Balanced Nutrition
Apply fish emulsion or seaweed extract every 4-6 weeks during the growing season for a quick nutrient boost. I dilute these fertilizers to half-strength to avoid burning plants, then water the soil deeply afterward. For slower-release nutrition, sprinkle bone meal or kelp meal over the soil in early spring—this feeds roots gradually as it breaks down.
Pay attention to plant color: dark green leaves mean nitrogen is sufficient, while yellowing suggests a phosphorus boost is needed. If flowers or fruit aren’t setting, try a potassium-rich fertilizer like wood ash (sparingly) or banana peels steeped in water.
Encourage Beneficial Microbes and Earthworms
Sprinkle 1 cup of worm castings around plants every 2-3 months to introduce beneficial microbes. These tiny organisms break down organic matter, making nutrients available to your plants. I also add 1 tablespoon of mycorrhizal fungi to transplants at planting time—this helps roots absorb water and nutrients more efficiently.
To attract earthworms, keep the soil moist but not soggy and avoid chemical pesticides. A healthy worm population is your best indicator of thriving soil—look for their castings on the surface after rain. If you see fewer worms, your soil may need more organic matter or better drainage.
Tips & tricks for perfect year-round soil health
Building and maintaining healthy soil doesn't have to be complicated—these practical tips will help you get the most out of each step while avoiding common pitfalls.
Soil Preparation: When working with your broadfork in Step 1, focus on creating those air pockets without overworking the soil. I find that gently lifting and dropping the fork in the same spot twice creates better aeration than repeatedly stabbing. For clay-heavy soil, mix in your shredded leaves or straw while the soil is still slightly moist—this helps break up clumps more easily. The goal is that dark, crumbly texture that almost looks like coffee grounds.
Mulch Application: The 3-4 inch mulch layer in Step 2 is your soil's insulator, but proper placement matters. Always create that 1-inch gap around stems to prevent rot, but don't create a volcano shape—mound mulch away from the stem to keep it dry. For wood chips, I recommend using double-shredded ones as they break down more slowly and stay in place better. Refreshing every 3-4 months is key, but if you notice mulch piling up unevenly, rake it out and redistribute before it compacts.
Cover Crop Timing: The timing for cover crops in Step 3 can be tricky. I plant mine in late August for fall growth—this gives them enough time to establish before winter sets in. For spring planting, aim for early March in most climates. Watch for those pale or stunted plants as your signal to add more compost, but don't overdo it—too much nitrogen can actually burn roots. When mowing down cover crops, leave them in strips rather than completely covering the bed to allow some sunlight to reach existing plants.
Fertilizer Application: The 4-6 week schedule for fish emulsion or seaweed extract in Step 4 works well, but consistency matters more than strict timing. I apply mine in the morning so it has time to absorb before evening watering. For bone meal or kelp meal, sprinkle lightly over the soil surface rather than mixing into the top layer—this prevents nutrient loss from leaching. When using wood ash, remember it's alkaline, so use it sparingly (about 1 cup per 100 square feet) and only on acidic soils—it can actually make alkaline soils worse.
Pro Tips for Organic Gardening Tips
- Building and maintaining healthy soil doesn't have to be complicated—these practical tips will help you get the most out of each step while avoiding common pitfalls.
- Soil Preparation: When working with your broadfork in Step 1, focus on creating those air pockets without overworking the soil.
- Mulch Application: The 3-4 inch mulch layer in Step 2 is your soil's insulator, but proper placement matters.
Frequently asked questions
Got questions about keeping your organic garden thriving? You’re not alone—even seasoned gardeners hit snags! Here are answers to the most common queries to help you grow with confidence.
How often should I compost my garden soil?
Add compost to your garden beds every 3–4 months for best results. Fresh compost enriches soil with nutrients, but overdoing it can disrupt microbial balance. Mix in a 1–2 inch layer and lightly till it into the top 6 inches of soil. For container plants, blend compost into potting mix at a 20–30% ratio.
Can I garden organically year-round, even in winter?
Winter organic gardening focuses on soil prep and cold-hardy crops. Plant garlic, kale, spinach, and carrots in fall for early spring harvests. Use mulch (straw, leaves) to insulate soil and protect roots. Greenhouses or cold frames extend growing seasons. Pro tip: Rotate crops annually to prevent soil depletion.
What’s the best organic pest control for common garden bugs?
Start with prevention: Healthy soil = strong plants that resist pests. For pests like aphids or slugs, try:
- Neem oil spray (diluted) for soft-bodied insects.
- Diatomaceous earth (food-grade) to deter slugs and ants.
- Handpick larger pests like tomato hornworms.
- Encourage predators like ladybugs or birds with native plants.
Is organic gardening more expensive than conventional?
Not necessarily! While organic seeds or compost may cost more upfront, they pay off long-term. Save money by:
- Composting kitchen scraps and yard waste for free fertilizer.
- Starting plants from seeds instead of buying transplants.
- Using DIY organic sprays (e.g., garlic-chili spray for pests).
- Reusing containers and mulch materials.
How do I adjust my organic gardening routine for drought conditions?
Drought-proof your garden with these tweaks:
- Water deeply but infrequently (1–2 inches per week) to encourage deep root growth.
- Mulch heavily with straw or wood chips to retain moisture.
- Choose drought-tolerant plants like lavender, rosemary, or zucchini.
- Collect rainwater in barrels for irrigation.
- Avoid watering late in the day to prevent fungal diseases.
Wrapping up and next steps
Embracing organic gardening isn’t just about growing plants—it’s about nurturing a thriving ecosystem that benefits both you and the planet. 🌱 By focusing on year-round soil health, composting, natural pest control, and mindful plant selection, you’re creating a sustainable green space that’s as rewarding as it is productive.
Start small, stay consistent, and watch your garden—and confidence—flourish!
Ready to take the next step? Pick one tip from this guide and try it this week—whether it’s building a compost bin, testing your soil, or introducing companion plants. Small actions lead to big results, and your future harvest will thank you!