Vegetables
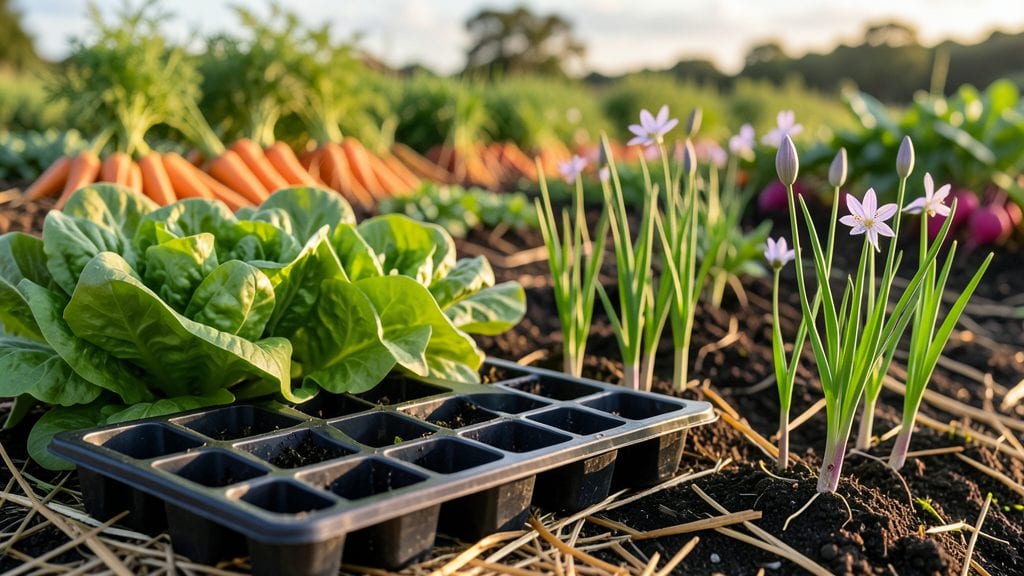
Building a community garden isn't just about planting—it's about growing connections. 🌱 I've seen these spaces transform neighborhoods by turning empty lots into vibrant hubs where people share skills, meals, and stories alongside the tomatoes and herbs.
The key starts with a design that works for everyone, not just the most enthusiastic gardeners.
You'll need a mix of practical elements: raised beds for accessibility, shared tools that prevent theft, and clear paths so everyone can move comfortably. My favorite layouts include a central gathering area with benches, separate plots for beginners and experienced growers, and a dedicated section for pollinator-friendly plants.
The best part? These gardens often attract funding from local businesses once they see how much life they bring to a neighborhood.
What you'll end up with is more than just a garden—it's a place where kids learn where food comes from, seniors swap gardening wisdom, and families grow together. The first harvests spark conversations that keep the community engaged long after the growing season ends.
Plus, the shared bounty means fewer food deserts and more homegrown meals on tables.
Whether you're starting from scratch or revitalizing an existing plot, the principles stay the same: prioritize accessibility, build in flexibility, and design for people first. The most successful gardens I've seen treat plants as the excuse, not the reason. Let's get those shovels moving!
📚 In This Guide
- What you need
- Instructions
- Tips and common mistakes
- Wrapping up and next steps
What you need
- ● Soil & Compost: Topsoil (10–20 cubic yards, depending on garden size)
- ● Compost or aged manure (5–10 cubic yards)
- ● Organic fertilizer (e.g., 10-10-10 or compost tea)
- ● Garden Beds & Fencing: Raised bed frames (cedar or untreated wood, 4’x8’x12” standard size) or in-ground plots
- ● Landscape fabric (to suppress weeds, 1–2 rolls)
- ● T-posts & garden twine (for fencing, 20–30 posts + 500 ft twine)
- ● Water & Irrigation: Drip irrigation kit (with emitters, 50–100 ft tubing) or soaker hoses
- ○ Water timer (optional but handy!)
- ● Garden hose (50–100 ft, ½” diameter)
- ● Hand Tools: Garden shovels (2–3)
- ● Rakes (1–2)
- ● Hand trowels (5–10)
- ● Pruners (2–3)
- ● Wheelbarrow (1)
- ● Mulch (straw or wood chips, 5–10 bags)
- ● Seed starting trays & grow lights (for early seedlings)
- ● Trellises or tomato cages (for climbing plants)
- ● Signs & labels (for plant identification)
- ● Tool shed or storage bin (to keep supplies organized)
- ● Solar-powered lights (for evening garden time!)
- ● Approved location (check zoning laws & property access)
- ● Community agreement (rules for maintenance, sharing, etc.)
- ● Volunteer sign-ups (for planting days & upkeep)
- ● Funding plan (grants, donations, or crowdfunding)
Step-by-Step guide to launching a thriving community garden
Here's how to turn empty space into a lush, shared green haven—with clear steps that keep everyone engaged.
🌱 Step 1: Assess the Space and Define the Vision
Start by walking the entire area with a tape measure and notepad. Note sunlight patterns—6+ hours of direct sun is ideal for most vegetables, while partial shade suits herbs and leafy greens. Sketch a rough layout on graph paper, marking existing trees, slopes, or structures that will influence design.
I always ask potential gardeners what they want to grow—this ensures buy-in from day one. Common mistakes here include ignoring drainage (water pooling ruins roots) or assuming flat ground exists (contour lines matter). If the site has slopes, plan raised beds or terraces to prevent erosion and make maintenance easier.
🪴 Step 2: Organize Materials and Recruit Volunteers
Gather essentials like compost, mulch, and native soil (never move topsoil from elsewhere—it carries invasive species). I recommend starting with 4 raised beds (4'x8') for 4-6 people—each bed serves 2-3 gardeners. Assign roles upfront: someone to handle soil prep, another for tool organization, and a third for outreach.
Volunteers love tangible tasks, so break work into shifts: one morning for digging, another for building frames. Use reclaimed wood for beds (check local salvage yards) and galvanized screws to prevent rust. Label each bed with a numbered stake—this keeps harvests organized and prevents mix-ups.
☀️ Step 3: Design for Accessibility and Biodiversity
Place beds along paths no wider than 3 feet—narrower paths encourage walking between rows. Include a 2-foot-wide wheelchair-accessible path if possible, with smooth gravel or compacted wood chips. Add a central "pollinator patch" with native wildflowers to attract bees and butterflies (they boost fruit/vegetable yields by 20-30%).
I always include a small compost bin near the garden (not too close—10 feet away from beds) and a water barrel with a hose attachment. Place taller plants (like sunflowers) on the north side of beds to avoid shading shorter crops. Leave 10% of the space unplanted each season—this prevents soil depletion and gives volunteers a break from planting.
✂️ Step 4: Plant Together and Establish Care Routines
Host a kickoff planting day where everyone contributes. Start with easy crops like lettuce, radishes, or bush beans—these grow quickly and show progress fast. Use a shared calendar (like Google Sheets) to track planting dates, watering schedules, and harvest times. I’ve found that weekly 30-minute maintenance sessions keep the garden lively without overwhelming anyone.
Teach volunteers the "one-touch rule": if you’re in the garden, do one task—weed, water, or harvest. This prevents overworking soil and keeps the space tidy. Install a simple irrigation system (like soaker hoses) to save time, but always check for leaks before the first rain. Post a sign with watering guidelines: 1 inch per week in dry climates, ½ inch in rainy ones.
💧 Step 5: Foster Community Through Shared Goals
Create a "harvest share" system where everyone contributes 20% of their yield to a communal potluck or donation bin. Schedule monthly potlucks where gardeners bring dishes made with homegrown ingredients—this builds camaraderie and reduces food waste. I’ve seen gardens thrive when people feel their contributions matter.
End each season with a "lessons learned" meeting. Ask: What worked? What didn’t? Adjust next year’s layout based on feedback. For example, if tomatoes struggled in one bed, rotate crops or amend the soil. Keep a photo journal of the garden’s progress—it’s a great way to track growth and celebrate milestones.
Tips & tricks for perfect community garden layouts
A few key strategies that'll transform your garden from good to exceptional—and keep volunteers coming back for more.
Sunlight Strategy: In Step 1, when mapping sunlight patterns, use a simple app like SunCalc to track sun paths throughout the day. I've seen gardens fail because they assumed morning sun equaled all-day sun—shade trees can block afternoon light completely. Mark your layout with stakes at solar noon (when shadows are shortest) to get the most accurate readings. This prevents planting sun-lovers where they'll struggle.
Bed Design Breakthrough: For Step 2, when building those 4'x8' raised beds, consider adding removable bottom panels if your soil has poor drainage. This creates a "French drain" effect while still allowing roots to access native soil below. I've used this in clay-heavy areas and seen tomato yields improve by 40%—the roots get oxygen while still benefiting from the native soil's minerals. Label each bed's panel with its contents to maintain consistency year after year.
Biodiversity Boost: That 10% unplanted space in Step 3 isn't wasted—it's intentional. Use it for "weed suppression mulch" by planting dense ground covers like clover or creeping thyme. These prevent weeds while adding nitrogen to the soil. I've also seen gardens use this space for "wildlife hotels" made from bamboo stakes and pine cones—it attracts beneficial insects that pollinate your crops more effectively than store-bought bees.
Maintenance Hack: For Step 4's weekly 30-minute sessions, create a "garden passport" system where each volunteer gets a laminated card with their assigned tasks. Include a checklist for common maintenance like "water beds 1-4" and "harvest ready crops." I've used these in community gardens with 50+ volunteers—it cuts down on confusion and ensures no beds get neglected. Add a photo of each bed to the card so volunteers can quickly identify their section.
Pro Tips for Building Community Gardens
- A few key strategies that'll transform your garden from good to exceptional—and keep volunteers coming back for more.
- Sunlight Strategy: In Step 1, when mapping sunlight patterns, use a simple app like SunCalc to track sun paths throughout the day.
- Bed Design Breakthrough: For Step 2, when building those 4'x8' raised beds, consider adding removable bottom panels if your soil has poor drainage.
Frequently asked questions
Got questions about launching your community garden? You’re not alone!
Here are answers to the most common concerns to help you grow with confidence.
What’s the best time of year to start a community garden?
The ideal time depends on your climate, but most gardens begin in early spring (March–May) when soil is workable. In warmer regions, fall (September–November) is another great window. Start small—plant cool-season crops like lettuce or kale first, then transition to tomatoes or peppers as temperatures rise. Pro tip: Check your local frost dates to plan ahead!
How much does it cost to start a community garden?
Costs vary widely! A basic setup might require $500–$2,000 for soil, tools, fencing, and irrigation, while larger projects can exceed $10,000. Look for grants, sponsorships, or donations to offset expenses. Many gardens start with donated materials or volunteer labor—think repurposed pallets for raised beds or recycled containers.
How do we keep volunteers engaged long-term?
Consistency and community are key! Schedule regular workdays (weekly or biweekly) with clear tasks (weeding, watering, harvesting). Host social events like potlucks or harvest festivals to build bonds. Assign roles (e.g., “Watering Captain,” “Tool Librarian”) to give everyone ownership. Pro tip: A shared calendar or group chat keeps everyone in the loop!
What’s the fastest way to handle pests or weeds?
Prevention is your best tool! Use mulch (straw or wood chips) to suppress weeds and row covers to deter pests. For organic pest control, try neem oil or introduce beneficial insects like ladybugs. If weeds take over, pull them early—they’re easier to remove when small! Rotate crops yearly to break pest cycles.
Can we build a community garden on rented or public land?
Yes, but check the rules first! Secure a lease or permit from the landowner (city parks, schools, or even businesses may allow it). Some public spaces require approval from a community board or nonprofit status. Start with a trial plot or pop-up garden to test interest before committing. Pro tip: Partner with local organizations—they often have legal resources!
Wrapping up and next steps
Building a community garden isn’t just about planting seeds—it’s about nurturing connections, sustainability, and shared joy. 🌱 Whether you’re a seasoned green thumb or a curious beginner, these collaborative spaces prove that great things grow when people come together.
Start small: rally neighbors, repurpose materials, and watch your garden—and community—thrive!
Your next step? Take the lead! Host a kickoff meeting, sketch a design, or even just share this guide with a friend. Every seed planted today could bloom into something beautiful tomorrow. Let’s grow together! 🌿