Landscaping
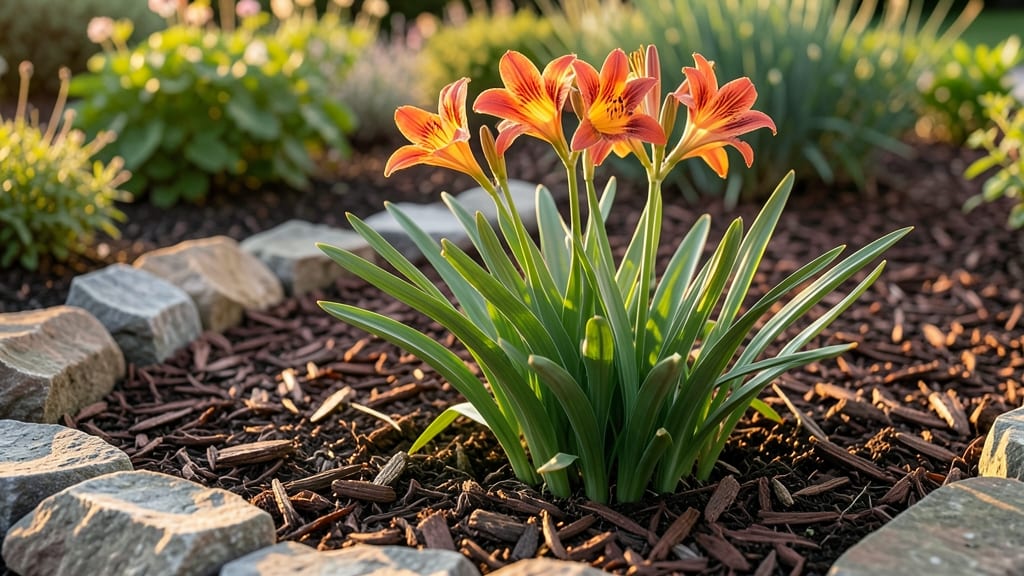
Transforming your yard into a layered privacy screen that changes with the seasons is easier than you think. 🌿 I designed my first garden bed like this after struggling with noisy neighbors and boring, flat landscapes—now it feels like a living room extension.
The key is matching plant heights, textures, and bloom times to create year-round interest while blocking views naturally.
Start with soil that drains well—amend heavy clay with compost and coarse sand if needed. Choose plants in three height tiers: tall evergreens (like arborvitae) at the back, mid-height shrubs (such as hydrangeas) in the middle, and low ground covers (like creeping thyme) in front.
This creates depth while keeping maintenance simple—most combinations need watering just once a week once established.
By summer, you’ll have a lush backdrop that shifts from spring blooms to fall foliage, all while muffling street noise. The front layer stays green even in winter, and the middle shrubs provide seasonal color without requiring constant deadheading.
Mulch with shredded bark to keep weeds down and moisture in—this one step cuts watering by nearly half.
Works for any yard size, from narrow strips between driveways to wide backyards. The same principles apply whether you go for cottage charm (mixed perennials) or modern minimalism (structured evergreens). Let’s sketch out your perfect layered look!
📚 In This Guide
- What you need
- Instructions
- Tips and common mistakes
- Wrapping up and next steps
What you need
- ● Soil & Amendments: Topsoil (2–3 cubic yards per 100 sq. ft.)
- ● Compost or organic matter (1–2 bags per 10 sq. ft.)
- ● Mulch (cedar, pine, or shredded bark—2–3 bags per bed)
- ● Plants (Layered for Privacy & Texture): Tall Backdrop: Shrubs (e.g., boxwood, holly, or arborvitae—3–5 per bed)
- ● Mid-Layer: Perennials (e.g., coneflowers, black-eyed Susans—5–10 per bed)
- ● Ground Cover: Creeping thyme, sedum, or ivy (enough to fill gaps)
- ● Hardware & Edging: Garden edging (plastic, metal, or stone—10–20 ft. per bed)
- ○ Stakes or landscape fabric (optional, for weed control)
- ● Shovel & spade (1 each)
- ● Garden rake (1)
- ● Wheelbarrow (for hauling soil/mulch)
- ● Pruners (bypass or shears)
- ● Measuring tape & string (for layout)
- ● Gloves & knee pads (for comfort!)
- ● Garden hose with spray nozzle
- ● Soil tester (to check pH/nutrients)
- ● Decorative stones or pebbles (for accents)
- ● Drip irrigation kit (for low-maintenance watering)
Step-by-Step guide to designing layered privacy garden beds
Here's how to create a lush, private garden space that changes with each season.
🪴 Step 1: Mark and Prepare Your Garden Bed Layout
Start by sketching your design on paper, then transfer it to the ground using stakes and string. For a 4-foot-wide bed, mark the perimeter with wooden stakes every 3 feet to keep lines straight. I like to use a hula hoop as a guide for curved edges—just lay it down and trace the shape with a garden hose.
Once marked, remove all grass, weeds, and debris from the area. Use a shovel to dig down 6-8 inches, breaking up compacted soil with a garden fork. This ensures roots can penetrate easily. If your soil is heavy clay, mix in 2-3 inches of compost to improve drainage and fertility.
☀️ Step 2: Build a Raised or In-Ground Foundation
For a raised bed, frame your design with 2x6 lumber, securing corners with galvanized screws. Line the bottom with landscape fabric to block weeds and preserve soil quality. Fill the frame with a mix of native soil and compost (half-and-half) to create a nutrient-rich base.
If building in-ground, shape the bed with a shovel, creating gentle slopes for water runoff. Add a 1-inch layer of gravel at the bottom for drainage, then top with 3-4 inches of compost before blending in the native soil. This layering prevents compaction and encourages root growth.
🌿 Step 3: Layer Plants for Privacy and Seasonal Interest
Begin with tall, structural plants at the back—think evergreen shrubs like boxwood or arborvitae for year-round privacy. Space them 3-4 feet apart to allow room for growth. Next, add mid-height perennials like hydrangeas or butterfly bush for summer blooms and texture.
Fill the front with low-growing ground covers such as creeping thyme or ajuga to soften the edges. Mix in seasonal annuals like pansies for spring and mums for fall to keep color vibrant year-round. I always plant in odd-numbered groups (3, 5, or 7) for a natural, balanced look.
💧 Step 4: Mulch and Water for Long-Term Success
Spread 2-3 inches of mulch (wood chips or shredded bark) over the soil surface to retain moisture and suppress weeds. Keep mulch 2 inches away from plant stems to prevent rot. Water deeply once a week during the first growing season, aiming for 1 inch of water per week—more if your area experiences drought.
Use a soaker hose for even moisture distribution, especially during hot spells. Check soil moisture by sticking your finger 1 inch deep; if it feels dry, it’s time to water. Avoid overhead sprinklers, which can spread disease and waste water.
✂️ Step 5: Maintain and Refresh Seasonally
Prune back overgrown branches in late winter to encourage new growth. Remove spent blooms regularly to prolong flowering and keep the bed tidy. In early spring, top-dress with 1-2 inches of fresh compost to replenish nutrients.
Swap out annuals every 2-3 years for fresh color and prevent disease buildup. I like to rotate spring bulbs (like daffodils) with fall-planted crocuses for continuous interest. A quick weed check every 2 weeks keeps your bed looking polished without much effort.
Tips & tricks for perfect layered privacy garden beds
Creating a stunning layered privacy garden isn't just about planting—it's about strategic design that evolves with seasons. Here's what I've learned to make the process smoother and the results more impressive.
Design Tip: Before marking your 4-foot-wide bed, walk through the space at different times of day to observe sunlight patterns. The morning sun might highlight one side beautifully, while afternoon light creates shadows on another. I've found that positioning my beds to catch morning light prevents overheating in summer and encourages blooming in spring.
Soil Strategy: That 6-8 inch deep dig in Step 1 is crucial, but don't stop there. If your soil is particularly dense, consider adding a 1-inch layer of coarse sand mixed with the compost to improve drainage. For clay-heavy soils, I've had great success with a 3-inch layer of coconut coir mixed into the top 6 inches—it holds moisture while preventing compaction.
Plant Layering Secret: When arranging your plants in Step 3, think vertically as much as horizontally. Tall evergreens like arborvitae should be placed slightly behind mid-height perennials to create visual depth. I like to stagger plants in odd-numbered groups (like 5 boxwoods) rather than straight lines—this creates a more natural, organic look that feels intentional rather than geometric.
Maintenance Hack: For that weekly watering in Step 4, I've found a simple trick to make it more efficient: place a rain gauge in your garden bed. This helps you accurately measure the 1 inch of water you're aiming for. On particularly hot days, I'll split this into two waterings—morning and evening—to reduce evaporation and prevent fungal issues. The soaker hose method really pays off here, as it delivers water directly to the roots without wetting the foliage.
Pro Tips for Landscaping Garden Beds
- Creating a stunning layered privacy garden isn't just about planting—it's about strategic design that evolves with seasons.
- Design Tip: Before marking your 4-foot-wide bed, walk through the space at different times of day to observe sunlight patterns.
- Soil Strategy: That 6-8 inch deep dig in Step 1 is crucial, but don't stop there.
Frequently asked questions
Got questions about transforming your outdoor space with stunning garden beds? Here are some of the most common queries—and their answers—to help you get started with confidence!
What’s the best time of year to plant garden beds for year-round appeal?
The ideal time depends on your climate, but spring and early fall are generally best for most plants. In cooler regions, plant perennials in spring, while warm climates allow fall planting. For seasonal texture, layer spring bulbs, summer annuals, and fall/winter shrubs to ensure year-round interest.
How much does it cost to landscape garden beds professionally vs. DIY?
Costs vary widely! A professional landscaper may charge $1,500–$5,000+ for a mid-sized bed, depending on materials and complexity. DIY costs are lower ($200–$1,000) but require time and effort. Pro tip: Start small—focus on one bed first to save money while learning!
What are some low-maintenance plants for garden beds with seasonal texture?
Opt for evergreens (like boxwood or holly), ornamental grasses (such as fountain grass), and perennials (e.g., coneflowers or black-eyed Susans). These provide structure, color, and texture with minimal upkeep. Bonus: Drought-tolerant plants (like lavender or sedum) reduce watering needs!
Why are my plants dying despite proper care in the garden bed?
Common culprits include poor drainage, over/under-watering, pests, or sunlight mismatches. Check soil moisture, inspect leaves for pests, and ensure plants get the right light (e.g., shade-loving plants in sun = trouble!). Amend soil with compost if drainage is an issue.
Can I mix different plant heights and textures in one garden bed?
Layering is key for depth and visual appeal. Place tall plants (like shrubs) at the back, medium-height perennials in the middle, and low-growing annuals or ground covers in front. Pair fine textures (ferns, grasses) with bold foliage (hostas, heucheras) for contrast.
Wrapping up and next steps
Transforming your garden beds into a layered privacy haven with seasonal texture isn’t just about aesthetics—it’s about creating a functional, ever-evolving space that delights year-round. 🌿 Whether you’re blending evergreens for structure, adding blooms for color, or incorporating foliage for depth, the key is strategic layering and seasonal variety.
With the right plants, materials, and a dash of creativity, your outdoor retreat will become a serene escape that evolves with the seasons.
Ready to dive in? Start small—pick one bed or corner to experiment with, gather your supplies, and let your vision take shape. Your dream garden is just a shovel’s throw away! 🌱✨