
Watering
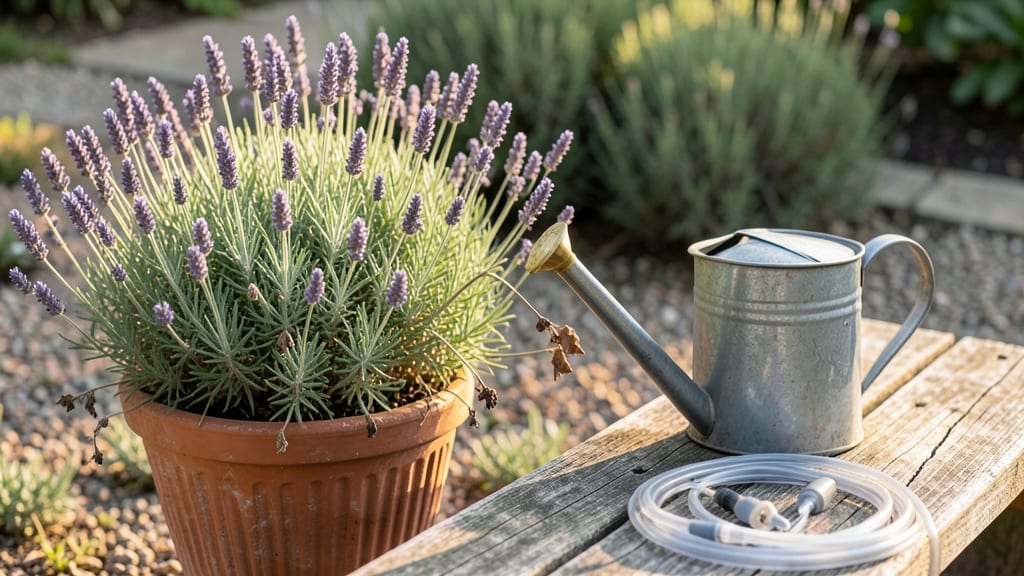
Watering your garden without an outside tap isn’t just possible—it’s the way I’ve kept my yard thriving for years. The key is collecting rainwater in barrels or using indoor sources with drip lines, which cuts my water bill while giving plants exactly what they need.
My first setup was a simple 55-gallon barrel under the downspout, and it’s never let me down since.
You’ll need a few basics: barrels or containers for collection, a mesh screen to keep debris out, and either a watering can or drip irrigation system to distribute it. For indoor sources, a bucket under the kitchen sink or a shower bucket works perfectly—every drop counts.
The goal is consistency: water deeply but infrequently to encourage strong root growth, and always in the early morning or evening to reduce evaporation.
What you’ll end up with is plants that look healthier than ever, with fewer wilting leaves and more vibrant blooms. My tomatoes and peppers produce just as well as they did with hose water, and the soil stays moist without the risk of overwatering.
The system even works for container gardens—just adjust the watering schedule based on pot size. You’ll notice the difference within weeks.
This method adapts to any garden size, from small balcony pots to full backyard plots. Whether you’re dealing with a temporary tap issue or aiming for complete self-sufficiency, these techniques prove water access isn’t the limiting factor—your creativity is. Let’s get your garden growing without a single drop wasted.
📚 In This Guide
- What you need
- Instructions
- Tips and common mistakes
- Wrapping up and next steps
What you need
- ● Rain Barrel (55–75 gallons) – Choose a food-grade plastic barrel with a spigot (e.g., 55-gallon drum with a tap).
- ● Gutter System – Extend to cover at least 50% of your roof’s drainage area (e.g., vinyl or aluminum gutters, 5–6 inches wide).
- ● First-Flush Diverter – A simple valve or mesh screen to filter debris from the first rain.
- ● Downspout Elbow & Connector – 4-inch PVC or flexible hose adapter to direct water into the barrel.
- ● Watering Can or Hose Attachment – A handheld spray nozzle or drip irrigation kit for even distribution.
- ● Mesh Screen or Filter – Fine nylon or stainless steel (¼-inch mesh) to block leaves/mosquitoes.
- ● Drill & Bits – For installing spigots or mounting gutters.
- ● Measuring Tape & Level – Ensure gutters slope ¼ inch per foot for proper drainage.
- ● Sealant (Silicone or PVC Cement) – To secure connections.
- ○ Optional Upgrades: 💡 Solar-Powered Pump – For elevated gardens (12V, 200–400 GPH).
- ● 🌿 Overflow Drain Pipe – Direct excess water to a rain garden.
- ● ❄️ Insulated Barrel Jacket – Prevents freezing in cold climates.
- ● ✅ Roof Access – Gutters must attach to downspouts or roof edges.
- ● ✅ Stable Surface for Barrel – Flat, elevated platform (e.g., cinder blocks, pallet) to avoid flooding.
- ● ✅ Local Regulations Check – Verify rainwater harvesting laws in your area (some restrict barrel sizes).
Step-by-Step instructions for building a rainwater collection system
Here’s how to set up a simple, effective system that captures rainwater for your garden.
Choose and Position Your Collection Barrels
Place your barrels on sturdy, level surfaces—like cinder blocks or pallets—under gutters or downspouts. I like to use two 55-gallon barrels for a small garden, positioned side by side for easy access. Make sure they’re at least 12 inches off the ground to prevent contamination from soil or pests. If your roof is steep, angle the barrels slightly to maximize water flow.
Check that the barrels have tight-fitting lids to keep debris out and mosquitoes from breeding. A fine mesh screen over the barrel openings adds an extra layer of protection. Avoid placing them under trees with heavy sap or fruit debris, as this can clog your system over time.
Connect Gutters and Downspouts
Attach flexible gutter extensions or downspout diverters to direct rainwater into your barrels. Use heavy-duty clips or straps to secure them tightly—loose connections can leak or pull away during storms. If your gutters aren’t already sloped toward the barrels, adjust the pitch slightly to ensure smooth water flow.
For a more permanent setup, install a first-flush diverter—a small container that catches the first dirty runoff before it reaches your barrels. This removes leaves, bird droppings, and other debris that would otherwise clog your system. Empty the first-flush container after each rainstorm to keep it effective.
Install a Filtering System
Attach a simple mesh filter or a fine screen to the barrel inlet to block leaves, twigs, and other debris. A ¼-inch mesh works well for most gardens—it lets water through while keeping out larger particles. If you notice sediment building up in the barrel, it’s time to clean or replace the filter.
For a more refined setup, add a berm filter—a small mound of sand or gravel wrapped in landscape fabric inside the barrel. This further clarifies the water before it’s stored. Just be sure to leave enough space for the barrel to hold its full capacity after filtering.
Set Up a Gravity-Fed Watering System
Drill a small hole near the bottom of one barrel and attach a ½-inch garden hose with a shutoff valve. Run the hose to your garden beds or connect it to a drip irrigation system. The water will flow slowly by gravity, making it easy to water plants without electricity. For larger gardens, add a second barrel with a similar setup.
To prevent clogs, install a fine mesh strainer at the hose connection. If your hose has a built-in filter, check it monthly and clean it with warm, soapy water. For container gardens, use a watering can with a rose attachment to distribute water evenly without splashing soil.
Maintain and Monitor Your System
Check your barrels and filters after every heavy rain to remove debris and ensure smooth water flow. I like to use a 5-gallon bucket to scoop out sediment that settles at the bottom over time. If the water smells musty or looks cloudy, it’s time to drain and clean the barrel thoroughly.
In dry spells, supplement with a watering can or a portable rain barrel placed directly under downspouts. Keep an eye on mosquito larvae—adding a few mosquito dunks (a natural bacteria treatment) to the barrel will keep them under control without harming your plants.
Tips & tricks for building an effective rainwater collection system
A few strategic choices can make all the difference in creating a system that lasts and works reliably. Here's what I've learned from setting up my own rainwater collection system over the years.
Barrel Placement Matters: In Step 1, when positioning your barrels, consider placing them on a slight incline if your roof is flat. This helps water flow more efficiently into the barrels, especially during light rain. I've found that positioning them directly under the downspout's natural flow path eliminates the need for additional gutter extensions in many cases. Also, place them where they'll receive the most consistent rain exposure—often the side of your house that faces prevailing winds.
First-Flush Diverter is Non-Negotiable: The first flush of rainwater contains the highest concentration of contaminants. In Step 2, when installing your first-flush diverter, use a container that holds at least 5 gallons of water. This ensures you're capturing all the initial dirty runoff before it reaches your barrels. I recommend using a clear container so you can easily see when it needs emptying after each rainstorm. This simple step can dramatically improve the quality of water stored in your barrels.
Filter Upgrades for Better Water Quality: While the basic ¼-inch mesh filter in Step 3 works well, consider adding a secondary fine filter at the hose connection point. This creates a dual-filter system that removes even smaller particles. For vegetable gardens, I've had great success with a simple sock made from old tights filled with coconut coir—it catches fine debris while allowing water to flow freely. Just remember to clean or replace these filters regularly to maintain proper water flow.
Hose Management for Long-Term Use: In Step 4, when setting up your gravity-fed system, use a hose with a built-in shutoff valve that you can easily access. I've found that a ½-inch hose with a ball valve works best because it allows you to control water flow without having to disconnect the entire system. For winter use, consider installing a frost-proof spigot if you live in colder climates—this prevents freezing and potential damage to your barrels and hoses.
Pro Tips for Water Garden Without Outside Tap
- A few strategic choices can make all the difference in creating a system that lasts and works reliably.
- Barrel Placement Matters: In Step 1, when positioning your barrels, consider placing them on a slight incline if your roof is flat.
- First-Flush Diverter is Non-Negotiable: The first flush of rainwater contains the highest concentration of contaminants.
Frequently asked questions
Got questions about watering your garden without an outside tap?
You’re not alone! Here are some of the most common concerns—and straightforward answers—to help you stay on track with your self-sufficient watering system.
How often should I water my garden using a rainwater collection system?
Frequency depends on your plants, climate, and rainfall. Check soil moisture 1-2 inches below the surface—water when it’s dry. Most gardens need 1-1.5 inches of water per week (including rain). Use a rain gauge to track accumulation and adjust as needed. Morning watering is best to reduce evaporation.
What if my rainwater collection system runs out before the next rain?
Don’t worry—plan ahead! Store extra water in large barrels or cisterns during heavy rains. For emergencies, use graywater from sinks/showers (cool, soapy-free water) or drip irrigation on a timer to stretch supplies. Mulch heavily to retain moisture in the soil.
How do I keep my collected rainwater from getting contaminated?
Prevent debris and pests with a fine mesh screen on the collection surface and a first-flush diverter to bypass the first dirty runoff. Avoid storing water longer than 2 weeks without treatment. For edible plants, use food-grade barrels and consider a bleach solution (1 tsp per 5 gallons) occasionally to kill algae.
Can I use rainwater for all my plants, or are some better suited for it?
Rainwater is ideal for most plants—it’s naturally soft and free of harsh chemicals. However, acid-loving plants (like blueberries or azaleas) may need occasional pH-balanced water. Avoid using it for hydroponic systems unless treated, as minerals like calcium can build up over time.
What’s the easiest DIY rainwater system for beginners?
Start simple! A 55-gallon barrel with a spigot, connected to a downspout, is perfect for small gardens. Add a hose attachment or drip irrigation kit for efficiency. For larger setups, consider a collapsible tank or underground cistern—both are scalable and low-maintenance.
Wrapping up and next steps
Creating a self-sufficient garden with a rainwater collection system is not only eco-friendly but also a rewarding way to nurture your plants without relying on outside taps. 🌧️🌱 By harnessing nature’s resources, you’ll save water, reduce costs, and cultivate a thriving green space—one drop at a time!
The key is to start small, stay consistent, and adapt as you learn.
Ready to take the next step? Begin with a single barrel or barrel system—test your setup, observe what works, and gradually expand. Your garden (and the planet) will thank you! 🌟