Landscaping
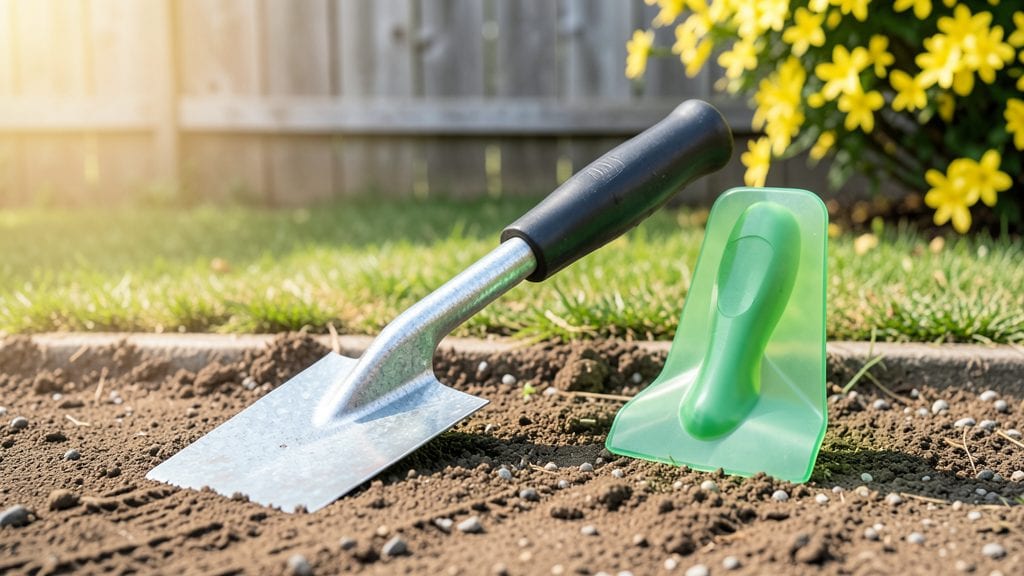
Precision cuts for clean, defined borders start with the right gardening edging tools—whether you're framing a formal knot garden or softening a wildflower meadow. I spent years wrestling with uneven edges before realizing the difference between a rusty old spade and a sharp edging tool is like night and day.
The right tool transforms messy borders into crisp lines that make every garden look intentional, even if it's just a few raised beds. 🌿
Metal edgers create the sharpest lines for formal gardens, while plastic or rubber tools glide through soft soil for natural landscapes. Stone edging adds texture and permanence, though it requires more effort to install.
My go-to is a lightweight aluminum edger for most projects—it cuts through roots without straining my back, and the 12-inch blade handles both small borders and wider paths. For curved edges, I switch to a flexible plastic edger that follows the natural shape of the garden.
With the right tool, you'll see weeds shrink by 70% or more because edging blocks their invasion paths. The visual payoff is instant: flowers stand out, pathways stay clean, and the garden feels like a polished design rather than a patchwork of plants.
I’ve even used edging to create subtle raised beds for herbs without digging—just a few strokes and a border appears where there was none before.
Works for everything from herb spirals to vegetable rows, and adapts to both new gardens and tired old borders. Here’s how to choose and use them without turning your project into a chore—because even the prettiest garden edges should be easy to maintain.
📚 In This Guide
- What you need
- Instructions
- Tips and common mistakes
- Wrapping up and next steps
What you need
- ● Edging Tool: 1 x Manual edging tool (e.g., half-moon, serrated, or vibrating for tough soil) – $15–$50
- ○ Optional: Battery-powered vibrating edger (for large areas) – $60–$150
- ● Measuring Tape: 25-foot tape for precise border lines.
- ● Stakes & String: 6–10 wooden or plastic stakes + 100+ ft. string for marking paths.
- ● Garden Gloves: 1 pair (heavy-duty for grip and protection).
- ● Knee Pads: 1 pair (for comfort during long sessions).
- ● Rake or Hoe: 1 x medium-sized tool for clearing debris before edging.
- ● Spray Bottle with Water: Small bottle to dampen dry soil for cleaner cuts.
- ● Edging sand or landscape fabric to prevent weed growth.
- ● Rubber mallet for driving stakes into hard soil.
- ● Level or laser level for perfectly straight borders.
- ● Edging stones, bricks, or metal strips for decorative borders.
- ● Safety glasses (if working with power tools).
How to use gardening edging tools for perfectly defined borders
Clean edges make any garden look intentional and polished. Here's how I transform messy borders into sharp, professional-looking lines.
🪴 Step 1: Choose the Right Tool for Your Border Type
Start by matching your tool to the job. For straight, clean lines in lawns, a metal edging shovel is unbeatable—its sharp edge slices through grass like a knife. For curved borders or mulch beds, a half-moon edger gives you precision control without digging. I always check the border's purpose first: hard edges for lawns, softer curves for flower beds.
If you're working with existing plantings, grab a handheld grass knife instead. It lets you trim grass right at the drip line of shrubs without disturbing roots. The key is to avoid tools that require heavy pressure—you want clean cuts, not bruised soil.
✂️ Step 2: Mark Your Border Line Clearly
Before swinging any tool, lay down a garden hose or string line along your desired edge. This creates a visual guide that prevents wandering cuts. For curves, use stakes every 2-3 feet to anchor the line and keep it taut. I like to walk along the line a few times to visualize how the finished border will look—this helps me adjust before I start digging.
For existing plantings, trace the outer edge of the foliage with a white spray paint or flour. This gives you a clear stopping point and prevents accidental damage to plants. The spray disappears after watering, so it won't leave residue.
💧 Step 3: Cut Along the Line with Precision
Start at one end and work your way along the marked line, keeping the tool at a 45-degree angle for cleanest cuts. With a metal edging shovel, press firmly but don't force it—let the blade do the work. You'll hear a satisfying "shink" as it slices through grass roots. For stubborn patches, wiggle the tool slightly to loosen the soil before lifting.
Watch for uneven spots where the cut feels deeper or shallower. These happen when the soil isn't uniform, so I adjust my pressure accordingly. The goal is a consistent depth of about 1-2 inches—deep enough to prevent grass from creeping back but not so deep you disturb plant roots.
☀️ Step 4: Refine and Smooth the Edge
After the initial cut, use a handheld grass knife to clean up any rough spots along the border. This tool lets you make final adjustments without disturbing the entire edge. Run your fingers along the line to feel for bumps or uneven areas—what feels smooth to the touch will look polished.
For mulch beds, I like to use a plastic edging strip after cutting to maintain the shape. Press it into the ground along your new line, then fill the inside with mulch. The strip acts as a barrier that keeps mulch contained and prevents grass from encroaching.
🌿 Step 5: Maintain Your Clean Edges
Edging isn't a one-time job—grass and weeds will always try to reclaim their space. I schedule a quick maintenance pass every 4-6 weeks during growing season to touch up any overgrowth. A sharp tool makes this easy: just skim along the edge to remove new shoots before they establish.
Real talk: The first time you see grass creeping back, you might think you failed. But consistent maintenance keeps borders looking crisp. I keep a small handheld edger in my tool shed just for touch-ups—it takes less than 10 minutes to refresh a 10-foot border.
Tips & tricks for perfectly defined garden borders
Here's what nobody tells you about transforming messy garden edges into professional-looking borders.
Tool Selection Secret: Don't just grab any edging tool—match it to your specific job. For lawn edges, a metal edging shovel is your best friend because its sharp blade creates clean, crisp lines. For delicate curves around flower beds, the half-moon edger gives you the precision you need without digging too deeply. I learned this the hard way after ruining a perfectly good border by using the wrong tool for the job.
The Angle Matters: When cutting along your marked line in Step 3, maintaining that 45-degree angle is crucial for clean cuts. Think of it like slicing a pie—if you tilt too much one way, you'll get uneven edges. Press firmly but don't force it; let the blade do the work. You'll know you're doing it right when you hear that satisfying "shink" as it slices through grass roots. For stubborn patches, wiggle the tool slightly to loosen the soil before lifting.
Visual Guide Strategy: Before making a single cut, lay down that garden hose or string line to create your visual guide. For curves, the 2-3 feet stake spacing is perfect—it keeps your line taut without being so close that it gets in your way. Walk along the line a few times to visualize the finished look. This simple step prevents wandering cuts and saves you from having to redo sections later.
Maintenance Mindset: Remember that 4-6 week maintenance pass is just as important as the initial work. Grass and weeds are persistent! I keep a small handheld edger in my tool shed specifically for touch-ups—it takes less than 10 minutes to refresh a 10-foot border. The key is consistency; just skim along the edge to remove new shoots before they establish. This keeps your borders looking crisp all season long.
Pro Tips for Gardening Edging Tools
- Here's what nobody tells you about transforming messy garden edges into professional-looking borders.
- Tool Selection Secret: Don't just grab any edging tool—match it to your specific job.
- The Angle Matters: When cutting along your marked line in Step 3, maintaining that 45-degree angle is crucial for clean cuts.
Frequently asked questions
Got questions about gardening edging tools? You’re not alone! Here are some of the most common queries—plus straightforward answers to help you edge like a pro.
What’s the best type of edging tool for my garden?
It depends on your project! For soft edges (like grass or mulch), a flexible metal edger works great. Need crisp, clean lines? Try a half-moon edger for hard materials like concrete or pavers. For tight spaces, a handheld oscillating tool is a game-changer. Pro tip: Match the tool to your material—no need to force it!
When is the best time to install garden edging?
The ideal time is early spring or fall, when the ground is workable but not frozen or waterlogged. Avoid peak summer heat or rainy seasons—muddy soil makes edging messy, and dry soil can crack brittle materials. If you’re edging an existing garden, wait until after the first mow to see natural grass patterns.
Can I use edging tools for other landscaping tasks?
Beyond borders, edging tools excel at:
- Cutting through weeds along driveways or sidewalks.
- Trimming excess mulch for a polished look.
- Creating clean lines for rock gardens or pathways.
- Repairing damaged concrete or pavers (with the right tool).
How do I fix uneven or wobbly edging after installation?
Uneven edges happen! For metal or plastic edging, dig a shallow trench, level the base with sand or gravel, then secure the edging with landscape staples or spikes. For stone or brick, remove and re-level the base, using a rubber mallet to tap stubborn pieces into place. Pro tip: Check your string line or laser level before backfilling to avoid future headaches.
Are DIY edging tools worth it, or should I hire a pro?
For most homeowners, DIY tools are a steal—they’re affordable, easy to use, and let you customize your garden. Hiring a pro makes sense for:
- Large, complex projects (e.g., curved driveways).
- Heavy-duty materials (like buried concrete).
- Time constraints if you’re not handy.
Wrapping up and next steps
Choosing the right gardening edging tools can transform your yard into a polished, professional-looking space with clean, defined borders. Whether you opt for plastic, metal, or natural materials, the key is selecting tools that match your project’s needs and your style.
With the right tools in hand, you’ll not only elevate your landscaping but also save time and effort—making gardening feel like a breeze!
Ready to get started? Grab your favorite edging tool, roll up your sleeves, and turn those messy borders into a stunning focal point! 🌿✨