Picking
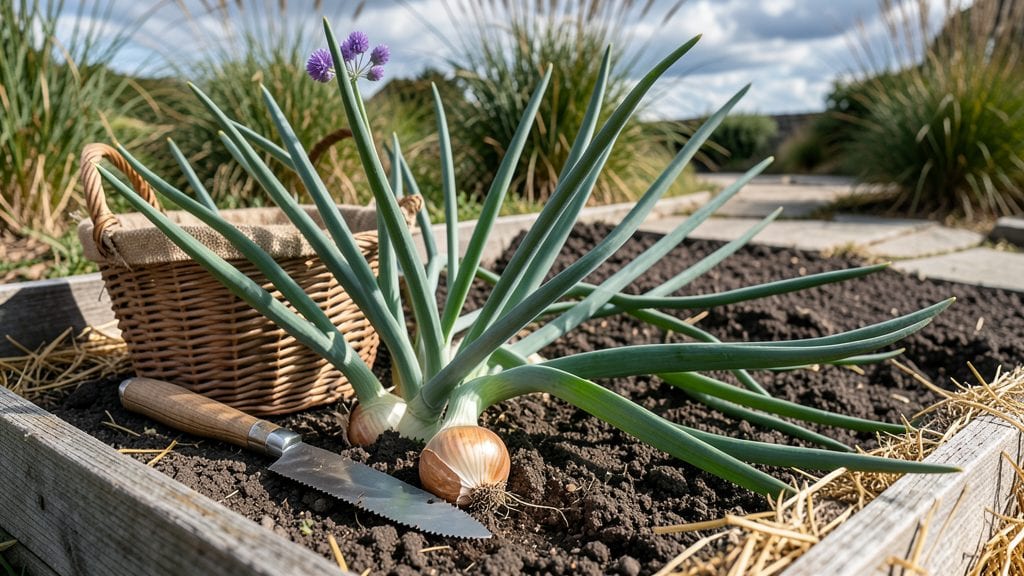
Harvesting onions from the garden at the right time turns your 🧅 crop from bland to bold—because waiting too long ruins the flavor.
Harvesting onions at the wrong time can mean the difference between sweet, flavorful bulbs and bitter, pungent disappointments—so knowing exactly when to pull them is a gardener’s secret weapon.
Most gardeners in zone 6a should watch for three key signs: when the tops turn yellow, the bulbs reach 1-2 inches in diameter, and the neck dries out. Miss these cues, and you risk shriveled storage onions or regrowth that spoils the harvest.
Below, I’ll show you how to test maturity with just your fingers, what to do if you’re a week early or late, and how to store your onions for months of fresh flavor.


3 Clear visual signs your onions are ready for harvest
Knowing when to harvest onions can transform your garden from a bitter disappointment to a flavorful triumph. The key lies in three clear visual cues that signal your onions are ready to pull.
Ignoring these signs often leads to underdeveloped bulbs or overripe, pungent harvests that spoil quickly. Let’s break down exactly what to look for—and what to avoid—to ensure you pick your onions at peak perfection.
First, understand that onions mature at different rates based on your climate zone and variety type. Storage onions (like Yellow Sweet Spanish) need more time to develop, while green onions or scallions mature much faster.
But regardless of type, these three visual signs are universal indicators that your onions are ready to harvest.
-
1. Tops Turn Yellow and Flop Over
The most reliable sign is when the green tops start yellowing and falling over. This indicates the bulb has stopped growing upward and is redirecting energy to the root system. If you see 50% or more of the tops yellowing, it’s time to harvest. -
2. Bulbs Reach 1-2 Inches in Diameter
Gently dig around the base of the plant to check bulb size. Mature onions should measure about 1-2 inches across. If they’re smaller, they’re not ready—small bulbs lack flavor and storage potential. Overripe onions (larger than 2.5 inches) often split or spoil faster. -
3. Neck Dries Out and Skin Becomes Papery
The neck (the stem connecting the bulb to the top) should feel dry and papery. Run your thumb along it—if it crumbles easily, the onion is ready. A shiny, moist neck means the bulb is still growing. This dryness is crucial for long-term storage.
Timing your harvest based on these signs ensures your onions have developed maximum sweetness and storage potential. For example, if you’re growing red onions, their tops may turn a straw-like color before flopping, but the same size and neck rules apply.
Pay attention to your local frost dates too—if a hard frost is coming, harvest even if the tops aren’t fully yellowed.
One common mistake is waiting until the tops are completely brown and crispy. While this might seem ideal, it often means the bulbs have overmatured and may split or rot during storage.
Aim for 70-80% yellowing of the tops rather than full browning. This balance gives you the best of both worlds: flavor and shelf life.
Another pro tip: Harvest on a dry, sunny day to let the bulbs cure properly in the field. After pulling, trim the tops to 1 inch above the bulb and lay them in a well-ventilated, shady spot for 1-2 weeks.
This curing process enhances flavor and extends storage life. Skipping this step leads to damp, mold-prone onions that spoil quickly.
Regional differences also play a role. In cooler climates (like USDA Zone 4), onions may mature slower, so start checking for these signs in late July or early August.
In warmer zones (like Zone 9), harvest can begin as early as June. Always adjust based on your specific variety—some, like Walla Walla onions, take longer to mature.
If you’re unsure whether your onions are ready, perform the finger-press test: Gently squeeze the bulb. It should feel firm but yielding, like a ripe avocado.
If it’s rock-hard, it’s underripe; if it’s soft or mushy, it’s overripe. This tactile check complements the visual cues for a foolproof harvest.
Finally, avoid the temptation to harvest based solely on plant height. Some onions grow tall but stay small, while others stay short but develop large bulbs. Always prioritize the three visual signs over height alone.
When you master these cues, you’ll never again wonder if your onions are ready—just pull, cure, and enjoy the reward of homegrown perfection.
How to test onion maturity without guessing: the finger-press method
When your onion tops start yellowing, it’s tempting to yank them from the soil—but rushing the harvest can ruin your crop. Instead, use the finger-press method to confirm maturity. This simple tactile test reveals whether bulbs are ready for storage or still need time in the ground.
I’ve used it for years to avoid tough, pungent onions and instead harvest sweet, flavorful bulbs at their peak.
The key is understanding the difference between green onions (harvested early) and storage onions (harvested later). Green onions are ready when they reach pencil-thickness, while storage onions need full maturity.
The finger-press method helps distinguish these stages without damaging the plant. This method works for both short-day and long-day onion varieties, making it universally applicable.
Start by selecting a representative onion from your patch—one that’s showing signs of maturity like yellowing tops. Gently grasp the bulb between your thumb and forefinger, applying light pressure. If the bulb feels firm but yields slightly (like a ripe avocado), it’s ready for harvest.
If it feels rock-hard, give it another 1-2 weeks. Overly soft bulbs mean you’ve waited too long.
For green onions, the finger-press method differs slightly. Harvest when the bulb is about 1/4-inch thick and the tops are still green. Press gently—you’ll feel minimal resistance, and the bulb will separate easily from the roots.
If you’re growing for storage, wait until the bulb reaches 2-3 inches in diameter and the tops are fully yellowed and dried.
Regional climate plays a role too. In hotter climates, onions mature faster, so test bulbs earlier. In cooler zones, they may need 10-14 extra days in the ground.
Always harvest before the first frost—even mature bulbs left in cold soil will spoil. Store harvested onions in a dry, well-ventilated spot with 60% humidity to prevent rot.
One common mistake? Harvesting based solely on top color. Some varieties turn yellow prematurely, while others stay green longer. The finger-press method accounts for these variations. For example, Yellow Granex onions often look mature before they are—always press to confirm.
This method also helps avoid split bulbs, a frustration I’ve seen in many gardens.
Once you master the finger-press test, you’ll never guess again. Your onions will be plump, sweet, and perfect for storage or immediate use. And if you’re unsure, harvest a few test bulbs—you can always replant the rest. Happy harvesting! 🧅