How To
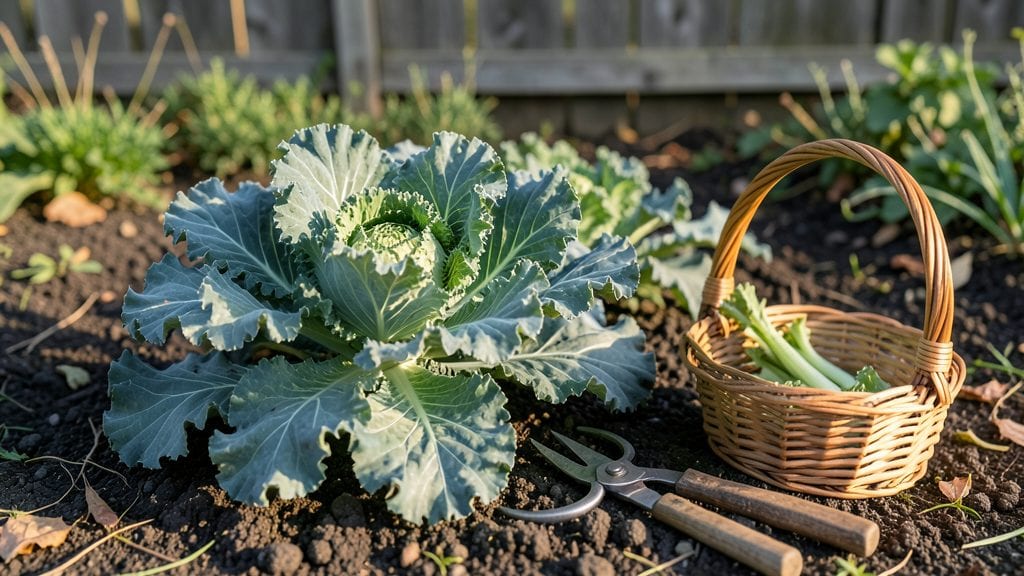
To pick kale from your garden with tender stems and flavorful leaves, timing and technique matter more than you might think.
Harvesting kale at the right time ensures tender stems and flavorful leaves—but knowing when and how to pick it can make all the difference between a gourmet meal and a bitter disappointment.
This spring harvest** (May-June) is your best shot for crisp, sweet leaves, but even fall kale (October-November) rewards patience. Whether you're plucking individual leaves or cutting whole stalks, the right method keeps your plants happy and productive.
Below, I’ll walk you through the exact steps to harvest kale—when to pull leaves, how to avoid damaging the plant, and how to store your bounty for weeks of fresh greens.


When and how to harvest kale for maximum flavor and tender stems
Harvesting kale at the right moment transforms bitter disappointment into a flavorful feast. The key lies in understanding leaf maturity, stem tenderness, and weather conditions—all of which directly impact taste and texture. Unlike many greens, kale rewards patience with sweet, crisp leaves when harvested correctly.
My garden's curly kale plants, for example, produce the most tender stems when picked young, while older leaves develop a slightly tougher but still delicious bite.
Timing your harvest isn't just about leaf size—it's also about avoiding frost damage and over-maturity. Kale left too long in the ground becomes woody and bitter, while young leaves harvested too early may lack flavor depth.
The sweet spot? When leaves reach 6-8 inches long with vibrant color and firm stems. This balance ensures both tender eating and optimal nutrition.
Here's the golden rule I follow: always harvest outer leaves first, leaving the inner growth to continue. This method extends your plant's productivity by 30-50% compared to cutting the whole stem.
My Dinosaur kale plants, in particular, reward this approach with continuous harvests for months when planted in early spring or late summer.
Weather plays a crucial role too. Kale harvested after a light frost actually sweetens—this is why many gardeners plant fall varieties specifically for winter harvests. However, avoid picking after heavy frost or during hot afternoon sun, as both conditions stress the plant and reduce quality.
I've found that morning harvests yield the freshest, crispest leaves.
Now let's look at the practical steps for harvesting. The method you choose depends on your goals: whether you want baby kale for salads or mature leaves for cooking. Here's how to do it right:
For year-round harvesting, I plant kale in two successions: once in early spring (4-6 weeks before last frost) and again in mid-summer (6-8 weeks before first frost). This staggered approach ensures a continuous supply from late spring through winter.
My fall-planted kale often survives until December in my Zone 6a garden, providing fresh greens when other crops have finished.
When harvesting, always use clean, sharp tools to prevent disease transmission. I disinfect my pruning shears with rubbing alcohol between plants to avoid spreading bacterial spot or downy mildew.
Never pull leaves—always cut with a 45-degree angle to reduce tearing. This small detail makes a huge difference in how quickly your kale recovers and regrows.
One common mistake I see is harvesting too much at once. Kale plants can handle 30-40% leaf removal without stress, but taking more than that reduces their ability to regrow.
My rule of thumb? Never remove more than one-third of the plant's foliage in a single harvest. This preserves the plant's energy for new growth and future harvests.
After harvesting, store kale properly to maintain its crispness and flavor. I wrap freshly picked leaves in damp paper towels and place them in perforated plastic bags in the fridge.
This method keeps them fresh for 7-10 days. For long-term storage, try freezing blanched leaves—this preserves their nutritional value and color for months.
Remember, kale's regrowth potential makes it one of the most rewarding crops to grow. With the right harvesting techniques, a single plant can provide harvests for 6-8 months. Start with small, frequent harvests, and your kale plants will thank you with tender, flavorful leaves all season long. 🥬
Common mistakes to avoid when picking garden kale (and how to fix them)
Picking kale from your garden seems simple—just snip and go—but over-harvesting or cutting too close to the stem can ruin your plant. Even experienced gardeners sometimes make these mistakes, leading to bitter leaves or stunted growth. Let’s fix that with expert tips to keep your kale thriving.
One of the biggest blunders is harvesting during a hard frost, which turns tender leaves mushy and unpalatable. If you’ve already picked frost-bitten kale, don’t toss it—blanch the leaves and freeze them for soups or smoothies later. This small step saves your harvest and your compost pile.
Another common error is removing too many leaves at once, which stresses the plant and slows regrowth. Instead, harvest outer leaves first, leaving the inner ones to keep growing. This method ensures a steady supply of fresh kale without sacrificing the plant’s health.
⚠️ Avoid These Harvesting Mistakes
❌ Cutting too close to the stem: Always leave 1-2 inches of stem attached to encourage regrowth. ❌ Ignoring pest damage: Chewed leaves can spread disease—remove affected leaves immediately. ❌ Harvesting in frost: Kale can tolerate light frost, but hard freezes ruin texture. ❌ Over-harvesting: Never take more than 1/3 of the plant at once.
If your kale leaves start looking yellow or wilted, it might be a sign of pest damage or nutrient deficiency. Check the undersides of leaves for aphids or cabbage worms, and treat with neem oil if needed.
For nutrient issues, add a balanced fertilizer like 10-10-10 to revive growth.
For winter harvests, cover your kale with row fabric before frost to protect tender leaves. This simple trick extends your growing season by 2-4 weeks and keeps your plants producing crisp, flavorful greens even in cold weather.
Finally, never let your kale bolt or flower, as this makes leaves bitter. If your plant starts sending up stalks, cut it back to the base and compost it—your next planting will thank you for preventing this common pitfall.