
Vegetables
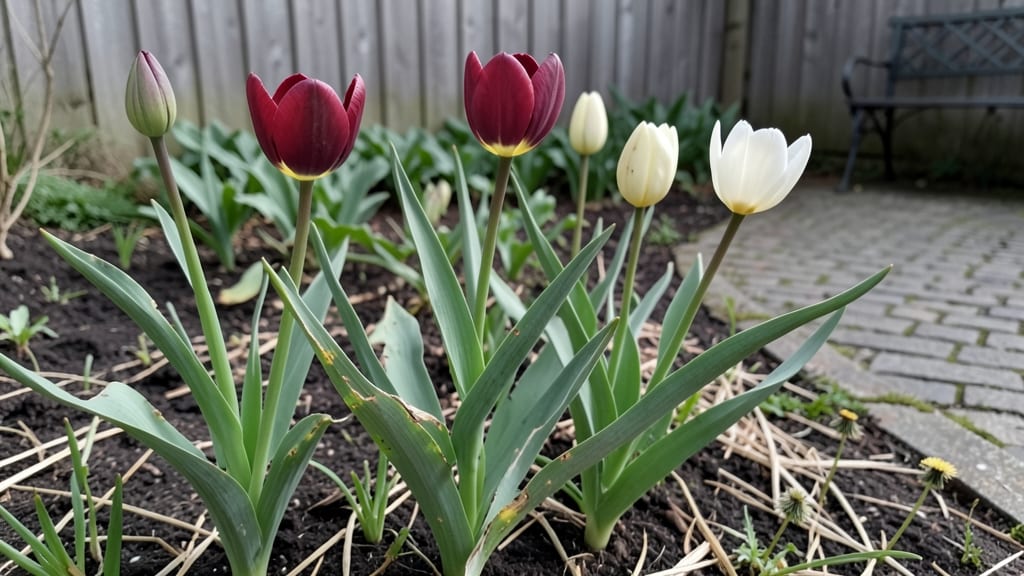
Copenhagen’s gardens prove you don’t need acres to create stunning green spaces—just vertical vision and smart layering. 🌿 I’ve studied how these urban oases stack plants, paths, and seating into tight footprints while keeping everything accessible and thriving.
The key isn’t just tall planters but how they weave native perennials, edible layers, and hardscape into cohesive designs that feel wild yet intentional.
The Danish approach focuses on three core principles: using vertical space for both beauty and function, prioritizing low-maintenance native plants that handle rain and drought, and designing for community with built-in seating and gathering spots.
You’ll see herbs growing on living walls beside salad greens, while climbing roses soften brick walls—all in spaces smaller than most suburban backyards. The result? Gardens that feel lush, productive, and inviting year-round, even in cool climates.
What makes this work in your space? Start with one vertical element—a trellis, wall-mounted planter, or tiered shelf—and fill it with layers: tall ornamental grasses at the back, mid-height perennials, and trailing plants at the edges.
Add a 2-foot-wide path (even gravel) to create movement, and you’ve got the bones of a Copenhagen-inspired garden that works in apartments, balconies, or postage-stamp yards. The best part? These designs thrive with half the water of traditional beds because they mimic the natural moisture retention of Nordic forests.
Here’s the game-changer: these gardens don’t just look good—they’re designed to be used. Built-in benches disguised as planters, edible borders that double as seating, and pathways that encourage exploration make every inch functional.
Whether you’re growing food, flowers, or both, the Nordic layering technique turns even the tiniest space into a year-round sanctuary. Let’s break down how to adapt these principles to your own compact garden.
📚 In This Guide
- What you need
- Instructions
- Tips and common mistakes
- Wrapping up and next steps
What you need
- ● Vertical Garden Structure: 1–3 wall-mounted planters (wooden crates, fabric pockets, or modular systems like IKEA’s Kallax shelves with planter inserts)
- ● OR 1 freestanding vertical planter (e.g., tiered metal frames or recycled pallets)
- ● Growing Medium: 5–10 gallons of lightweight potting mix (blend organic compost with perlite or coconut coir for drainage)
- ○ Optional: hydroponic clay pebbles (for self-watering systems)
- ● Plants (Compact & Nordic-Friendly): 3–5 herbs (thyme, parsley, chives—drought-tolerant and fragrant!)
- ● 2–3 leafy greens (kale, Swiss chard, or lettuce for vertical layers)
- ● 1–2 edible flowers (nasturtiums or calendula for color)
- ○ Optional: dwarf vegetables (radishes, bush beans, or cherry tomatoes in hanging pockets)
- ● Watering & Care: 1 spray bottle (for gentle misting)
- ○ 1 self-watering reservoir (optional, for travel or busy schedules)
- ● Organic fertilizer (fish emulsion or worm tea, diluted monthly)
- ● Essentials: 1 pruning shears (for trimming herbs)
- ● 1 trowel or small hand shovel (for planting)
- ● Measuring tape or ruler (to space plants 6–12" apart)
- ○ Optional (But Helpful!): LED grow lights (for low-light spaces, 12–16 hours/day)
- ● Decorative cobblestones or moss (to mimic Copenhagen’s rustic charm)
- ● Weatherproof paint or stain (for wooden structures)
- ● ✅ Space: At least 2–3 feet of wall/vertical surface (or a sturdy table for freestanding planters).
- ● ✅ Light: 4–6 hours of direct sunlight (south-facing is ideal; supplement with grow lights if needed).
- ● ✅ Drainage: Ensure your structure has holes or a tray to prevent root rot.
- ● ✅ Time Commitment: 10–15 minutes daily for watering/pruning (or invest in a self-watering system!).
How to create Nordic-inspired vertical gardens in compact spaces
Here's how to transform small urban areas into lush, layered vertical gardens inspired by Copenhagen's minimalist yet vibrant approach.
🌿 Step 1: Design Your Vertical Layers
Begin by sketching a vertical layout that mimics Copenhagen's functional yet artistic green spaces. Start with the base layer—this is your "foundation" and should feature drought-tolerant perennials like sedum or ornamental grasses. These plants anchor the design and require minimal maintenance, much like the hardy Nordic flora. For a 4-foot-tall structure, allocate 12-18 inches for this base layer to ensure stability and root development.
Above the base, add a mid-height layer for shrubs or small trees like dwarf conifers or Japanese maples. These provide structure and texture, just as Copenhagen's urban forests blend height with greenery. Space these plants 6-12 inches apart to allow airflow and prevent overcrowding. The key here is balance—avoid clustering plants too tightly, as this can lead to disease in humid Nordic climates.
🪴 Step 2: Select and Assemble Your Vertical Planters
Choose planters with built-in drainage holes and modular sections to accommodate each layer. For a Copenhagen-inspired look, opt for light-colored wood or galvanized metal—these materials reflect heat in summer while maintaining a sleek, urban aesthetic. Use the 4 modular planters (each 12 inches deep) to create your vertical structure, stacking them with L-brackets for stability. Ensure each planter is filled with a high-quality potting mix (avoid garden soil—it compacts and suffocates roots).
Here's the thing—Nordic gardens thrive on layered textures. Fill the base planter with 3 gallons of potting mix, then add a 1-inch layer of gravel at the bottom for drainage. For the mid and upper layers, use 2 gallons of potting mix each, mixing in a slow-release fertilizer to nourish plants over time. This ensures your vertical garden stays vibrant without frequent feeding, just like Copenhagen's low-maintenance public greens.
☀️ Step 3: Plant for Seasonal Interest and Light Conditions
Copenhagen's gardens shine because they adapt to limited sunlight. If your space gets full sun (6+ hours), plant sun-loving perennials like lavender or Russian sage in the upper layers, where they’ll catch the most light. For partial shade (3-6 hours), opt for hostas or ferns in the mid-layer—they thrive in dappled light and add lush greenery. Avoid placing shade-loving plants in the top layer; they’ll struggle to photosynthesize effectively.
Here’s a pro tip: Group plants by water needs. The base layer (sedum, grasses) can handle drier conditions, while the upper layers (lavender, ferns) may need weekly watering in summer. Use a drip irrigation system to deliver moisture evenly—this mimics Copenhagen’s efficient public irrigation and prevents water waste. Water deeply every 2-3 days until the top inch of soil feels dry, then adjust based on rainfall.
✂️ Step 4: Maintain and Prune for Long-Term Health
Nordic gardens stay tidy without looking sterile. Prune leggy growth in spring to encourage bushier, denser plants—this is especially important for shrubs and small trees in your mid-layer. Use clean, sharp pruners to make cuts just above a leaf node, and remove any dead or diseased foliage immediately. This prevents the spread of issues, just as Copenhagen’s public gardens remain pristine year-round.
Don’t skip seasonal cleanups. In early spring, remove any winter-damaged leaves and add a 1-inch layer of mulch to retain moisture and regulate soil temperature. In fall, cut back perennials by half to protect them from harsh Nordic winters. This layered approach keeps your vertical garden looking intentional, not neglected—a hallmark of Copenhagen’s urban greening.
Tips & tricks for perfect Nordic-inspired vertical gardens
Transforming small spaces into lush vertical gardens takes strategic planning—here's how to elevate your Copenhagen-inspired design with these essential insights.
Layering for Light and Airflow: In Step 1, when designing your vertical layers, place taller plants like dwarf conifers in the mid-layer rather than the top. This creates a natural canopy effect that protects lower plants from harsh afternoon sun while allowing optimal light penetration. The 6-12 inch spacing between shrubs in your mid-layer isn't just about aesthetics—it's crucial for preventing fungal issues common in Copenhagen's humid climate. I've seen too many vertical gardens fail because plants were crowded too tightly in the upper layers.
Planter Material Matters: For Step 2's modular planters, galvanized metal is my top recommendation—it reflects sunlight during summer heatwaves while maintaining a sleek Nordic aesthetic. If using wood, choose cedar or redwood which naturally resist rot in damp conditions. The 12-inch depth of your planters is perfect for root development, but remember to leave 1-2 inches of space between the top of the soil and planter edge to prevent overflow during watering. This simple detail saves countless hours of cleanup.
Watering Strategy for Nordic Conditions: The 2-3 day watering schedule in Step 3 works beautifully for Copenhagen's climate, but adjust based on your local conditions. Use your finger to check soil moisture—if the top inch feels dry, it's time to water. For urban spaces, consider adding a moisture meter to avoid overwatering, which can lead to root rot in the compacted planter conditions. Grouping plants by water needs as suggested creates a self-regulating system that mimics Copenhagen's efficient public irrigation.
Seasonal Pruning Secrets: When pruning in Step 4, focus on removing any crossing branches in your mid-layer shrubs first—they create weak points where diseases can enter. For perennials, the fall cutback of half their height isn't just about winter protection; it also stimulates fresh growth in spring. I've found that using sterilized pruning shears between cuts prevents spreading any potential pathogens between plants in your vertical structure.
Pro Tips for Gardens Of Copenhagen
- Transforming small spaces into lush vertical gardens takes strategic planning—here's how to elevate your Copenhagen-inspired design with these essential insights.
- Layering for Light and Airflow: In Step 1, when designing your vertical layers, place taller plants like dwarf conifers in the mid-layer rather than the top.
- Planter Material Matters: For Step 2's modular planters, galvanized metal is my top recommendation—it reflects sunlight during summer heatwaves while maintaining a sleek Nordic aesthetic.
Frequently asked questions
Got questions about creating your own Copenhagen-inspired vertical gardens?
Here are some of the most common ones—and their practical answers to help you grow like a pro!
What’s the best time of year to start a vertical garden in Copenhagen’s climate?
Copenhagen’s short but intense growing season means you can start indoors in early spring (March–April) for herbs and leafy greens, or wait until late April–May for heartier veggies like tomatoes and peppers. Use cold frames or greenhouses to extend the season if needed—just protect tender plants from late frosts (common until mid-May).
Are vertical gardens more expensive than traditional ones?
Not necessarily! While materials like hydroponic systems or modular pockets have upfront costs (€50–€200), they save space and water long-term. Budget tip: Repurpose pallets, trellises, or even old ladders for DIY setups—just ensure they’re weather-resistant. Start small (e.g., a single wall panel) to test what works before investing in full systems.
How do I protect my vertical garden from Copenhagen’s rain and wind?
Copenhagen’s rainy, windy conditions can stress plants, but simple fixes help:
- Windbreaks: Place gardens against walls or fences, or use burlap screens.
- Drainage: Ensure containers have holes and use lightweight soil mixes to prevent waterlogging.
- Cover crops: Add shade cloth (30–50%) in peak sun to reduce evaporation.
For extra protection, elevate pots off the ground to avoid fungal issues from standing water.
Can I grow tomatoes and peppers vertically in Copenhagen’s short summer?
Use fast-maturing varieties (e.g., ‘Balconi Red’ tomatoes or ‘Apache’ peppers) and maximize sunlight with:
- South-facing walls (critical for 5+ hours of sun/day).
- Reflective surfaces (white paint or mirrors) to boost light.
- Grow lights (LED arrays) for 12–14 hours/day if natural light is scarce.
Start seeds indoors in March and transplant after the last frost (mid-May). Prune aggressively to focus energy on fruit production.
What if my vertical garden fails? Troubleshooting common issues.
Don’t panic—most problems have quick fixes! Here’s a cheat sheet:
Issue
Likely Cause
Fix
Yellowing leaves
Overwatering or nutrient deficiency
Check soil moisture (top inch should dry between waterings) and add balanced fertilizer (e.g., 5-5-5).
Stunted growth
Low light or root-bound plants
Move to a sunnier spot or repot into larger containers with fresh soil.
Pests (aphids, spider mites)
Humid conditions or weak plants
Spray with neem oil or introduce beneficial insects (ladybugs).
Pro tip: Keep a garden journal to track conditions and spot patterns early!
Wrapping up and next steps
The Gardens of Copenhagen prove that even small spaces can thrive with creativity and purpose! 🌿 By embracing vertical layers, you’ve unlocked a world of lush greenery, fresh produce, and serene beauty—perfect for urban dwellers or anyone craving a touch of Nordic charm.
Whether you’re growing herbs, veggies, or flowers, these compact designs make gardening accessible, sustainable, and delightfully rewarding.
Ready to transform your space? Start small—pick one vertical planter or trellis today and watch your garden grow! 🌱 Explore more tips or share your progress with the community for inspiration.