Lawn
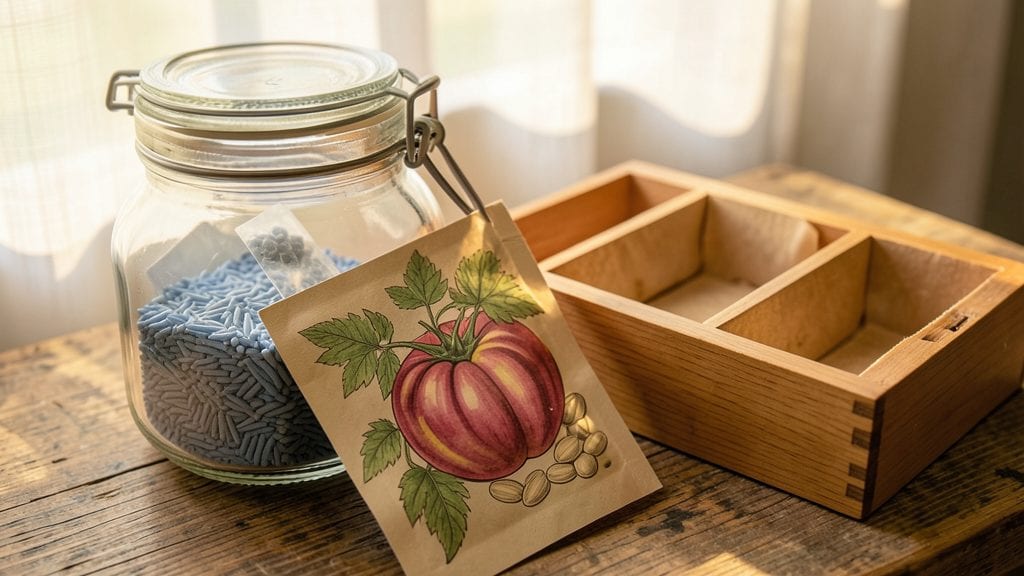
Mastering the art of garden seed storage means the difference between a thriving garden and wasted money—here’s how I keep seeds viable for years. sprout. The key is controlling moisture, temperature, and light, which turns a simple paper packet into a long-term investment.
You’ll need airtight containers (glass jars or Mylar bags work best), silica gel packets to absorb moisture, and a cool, dark place like a basement or fridge. Label everything with the variety and year—trust me, you won’t remember what’s what after a few seasons.
Even heirloom seeds, which often last longer than hybrids, need these same conditions to stay fresh.
By following these methods, you’ll test seeds before planting and find most still germinate after 5+ years, sometimes even longer. The payoff? A well-organized seed stash that grows your garden’s diversity without breaking the bank. Let’s get those seeds stored right.
Common mistakes like storing seeds in the fridge without moisture control or using damp containers will ruin them fast. Test a few seeds in damp paper towels every few years to check viability—if they sprout within a week, your stash is still good to go.
📚 In This Guide
- What you need
- Instructions
- Tips and common mistakes
- Wrapping up and next steps
What you need
- ● Air-tight containers: Glass jars (like mason jars), resealable plastic bags with zip locks, or vacuum-sealed bags. Specs: Must seal tightly to block moisture and air.
- ● Desiccant packets: Silica gel packets (2-4 per container) to absorb moisture. Tip: Check for "non-toxic" labels if storing edible seeds!
- ● Labeling supplies: Permanent markers, sticky labels, or a label maker + tape. Pro tip: Include seed type, variety, and date!
- ● Cool, dark storage space: A pantry, basement, or refrigerator (50–70°F / 10–21°C ideal). Avoid attics or garages with temperature swings.
- ● Seed packets or envelopes: Original packaging (if intact) or breathable paper envelopes for smaller batches.
- ● Humidity indicator cards: Small cards that change color if moisture levels rise (great for long-term storage).
- ● Vacuum sealer: For ultra-long-term storage (extends seed life by years!).
- ● Portable thermometer/hygrometer: To monitor temperature and humidity in your storage spot.
- ● Seed catalog or digital tracker: For organizing varieties and tracking viability tests.
Step-by-Step instructions for garden seed storage
Preserving seeds properly ensures they stay viable for years—here’s how to keep them fresh and ready for planting.
Dry Seeds Thoroughly Before Storage
After harvesting, spread seeds in a single layer on a clean, dry surface in a warm, well-ventilated area. Avoid direct sunlight, which can degrade seed quality over time. Let them dry completely—this usually takes 5-7 days—until they feel crisp and brittle to the touch. For larger seeds like beans or peas, a paper towel works well; for tiny seeds like lettuce or carrots, use a fine mesh screen.
Check for moisture by squeezing a handful of seeds gently. If they leave a damp impression, they need more drying time. Once fully dry, store them in paper envelopes or small glass jars with tight-fitting lids. Label each container with the seed type and harvest date—this prevents mix-ups and helps track viability.
Choose the Right Storage Conditions
Seeds thrive in cool, dark environments with low humidity. The ideal storage temperature is between 32-41°F, which slows metabolic activity and extends shelf life. A standard refrigerator works well for short-term storage, but a seed vault or root cellar is best for long-term preservation. If neither is available, a cool basement or pantry will do.
Avoid storing seeds in the freezer unless you’re preserving them for decades—temperature fluctuations during thawing can damage viability. Keep seeds in airtight containers to block moisture and pests. For extra protection, place a small packet of silica gel or a slice of bread in the container to absorb any lingering dampness.
Test Seed Viability Before Planting
Even with perfect storage, seeds lose viability over time. Test a small batch before planting by placing 10 seeds between two damp paper towels in a sealed plastic bag. Keep them in a warm spot (70-75°F) and check daily. Seeds that sprout within 7-10 days are still viable. If fewer than 50% sprout, consider shortening your planting window or sourcing fresh seeds.
For seeds stored longer than 5 years, germination rates drop significantly. Adjust planting quantities accordingly—sow 25-50% more seeds than usual to account for lower success rates. Keep records of test results to track how storage conditions affect each seed type over time.
Organize and Rotate Your Seed Stock
Use a simple system to track seed age and usage. Store newer seeds behind older ones so you plant the oldest first—this is called FIFO (First In, First Out). Group seeds by family (e.g., brassicas, legumes, nightshades) to streamline planting and rotation. A labeled shadow box or clear plastic bin makes it easy to see what you have at a glance.
Review your seed stock annually and discard any that fail viability tests or show signs of mold, pests, or damage. Replace older seeds with fresh ones every 2-3 years for best results. This keeps your garden productive and reduces waste from unusable seeds.
Tips & tricks for perfect garden seed storage
Here's how to ensure your seeds stay viable and ready for planting season after season.
Drying Time Matters: The 5-7 days of drying in Step 1 is crucial—don't rush this process. I've learned the hard way that damp seeds develop mold and lose viability within weeks. Test for dryness by gently squeezing seeds; if they leave no moisture on your fingers, they're ready. For seeds like lettuce or carrots that dry quickly, check them every 24 hours to prevent over-drying, which can crack seed coats and reduce germination.
Storage Temperature Secrets: Maintaining that 32-41°F range can be tricky if you don't have a root cellar. I keep mine in the back of my refrigerator where it stays consistently cool. For short-term storage, even a cool pantry works, but avoid areas near windows or appliances that generate heat. The refrigerator's humidity control actually helps prevent moisture buildup that can occur in basements.
Container Choices: While paper envelopes work well for short-term storage, I've found that small glass jars with tight lids are better for long-term preservation. The glass doesn't absorb moisture like cardboard can, and the airtight seal keeps pests out. For extra protection against humidity, I add a small packet of silica gel to each container—it absorbs any moisture that might develop over time.
Viability Testing Strategy: When testing those 10 seeds in Step 3, I recommend using a clear plastic bag so you can easily see the progress without opening it. The 70-75°F warm spot can be as simple as your kitchen counter near the stove. If you're testing multiple seed types, keep a small notebook to record which seeds sprout and which don't—this helps you track which varieties age better over time.
Pro Tips for Garden Seed Storage
- Here's how to ensure your seeds stay viable and ready for planting season after season.
- Drying Time Matters: The 5-7 days of drying in Step 1 is crucial—don't rush this process.
- Storage Temperature Secrets: Maintaining that 32-41°F range can be tricky if you don't have a root cellar.
Frequently asked questions
Got questions about keeping your garden seeds fresh and ready for planting? Here are some of the most common concerns—and their solutions—to help you store seeds like a pro!
How long can I store garden seeds before they lose viability?
Most vegetable and flower seeds stay viable for 1–5 years, depending on the type. Carrots, onions, and leeks last about 1–2 years, while peas, beans, and tomatoes can last 3–5 years. Always check seed packets for specific expiration dates—when in doubt, test a few seeds for germination before planting!
What’s the best temperature for storing seeds long-term?
Ideal storage temperatures are 32–41°F (0–5°C), like a cool pantry or refrigerator. Avoid freezing (below 32°F/0°C) or extreme heat (above 70°F/21°C), as both can damage seeds. A seed fridge or airtight container in the crisper drawer works perfectly for most varieties.
Can I use ziplock bags or just any container for seed storage?
Yes! Ziplock bags with desiccant packets (to absorb moisture) are a budget-friendly option. For long-term storage, opt for glass jars, metal tins, or Mylar bags with oxygen absorbers. Just ensure containers are completely airtight to prevent humidity and pests from spoiling your seeds.
What should I do if my seeds sprout mold or smell bad?
Discard any seeds showing mold, musty odors, or discoloration—these are signs of contamination. To prevent this, label and date containers, store seeds in cool, dry places, and avoid overpacking. If seeds are damp, spread them out to dry completely before resealing.
How do I test if old seeds will still germinate?
Do a simple germination test: Moisten a paper towel, place 10 seeds on it, and fold it. Keep it in a warm, dark place (like a sealed baggie) for 5–7 days. If 50% or more sprout, your seeds are still viable! Adjust planting quantities based on these results.
Wrapping up and next steps
Proper garden seed storage is your secret weapon for a thriving garden year after year! By controlling moisture, temperature, and light, you can preserve seed viability and save money—no more last-minute store runs or wasted packets. Start small with a few key varieties, then expand as you master the techniques.
Ready to take the next step? Test your stored seeds this spring—plant a few from last year’s stash and compare their growth to fresh seeds. You’ll be amazed at how simple science can keep your green thumb flourishing! 🌱✨