Lawn
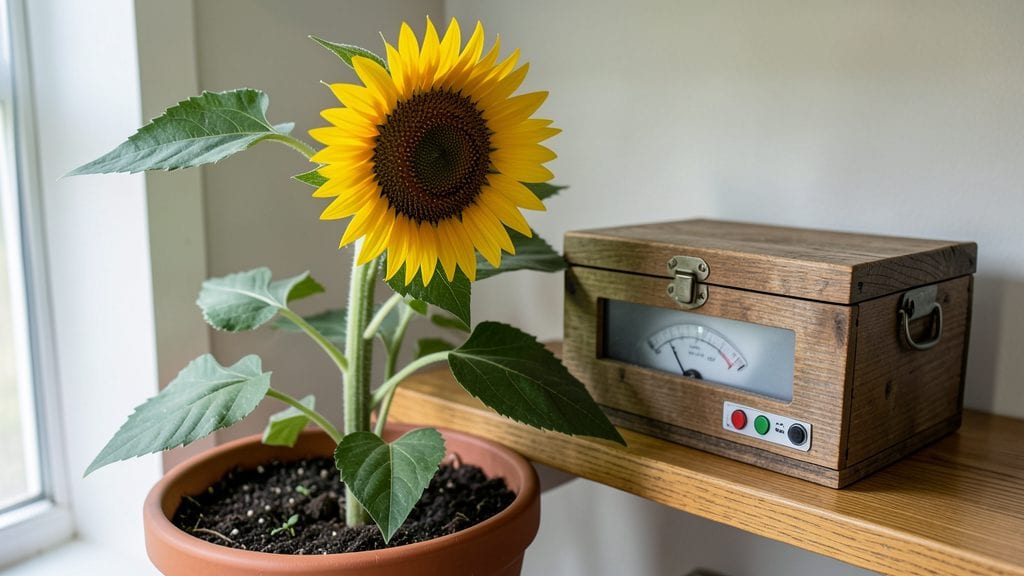
My garden seed bank saved me from buying $8 seed packets every spring—once you learn how to store seeds properly, you’ll never run out of your favorite heirlooms again. 🌱 The key is keeping them dry, cool, and organized so they stay viable for years, not months.
I started with a simple plastic container and a few paper envelopes, and now my seed stash includes tomatoes, beans, and flowers that I’d otherwise lose forever.
You don’t need fancy equipment—just a cool, dark spot (like your fridge or basement) and airtight containers. Label everything with the variety name and year, because seeds from last season’s zucchini won’t grow into this year’s heirloom.
The best part? You’ll preserve biodiversity, save money, and always have fresh seeds ready for planting, no matter what happens at the store.
Within a year, you’ll have a collection that grows stronger with each generation. My seed bank now includes varieties I couldn’t find anywhere else, and I’ve even shared extras with neighbors. The payoff isn’t just practical—it’s the satisfaction of knowing your garden’s future is safe in your hands.
Works for beginners and seasoned gardeners alike, whether you’re saving a single tomato variety or building a full-scale seed library. Let’s get those seeds stored the right way!
📚 In This Guide
- What you need
- Instructions
- Tips and common mistakes
- Wrapping up and next steps
What you need
- ● Building a thriving garden seed bank requires the right tools and materials to ensure your seeds stay viable year-round. Here’s what you’ll need—whether you’re a beginner or a seasoned gardener!
- ● Pro Tip: 💡 Harvest seeds at peak ripeness—wait until they’re fully dry but still firm to avoid mold. Store small seeds (like lettuce) in smaller containers for better airflow!
How to build a reliable garden seed bank using layering
Here's how I preserve seeds for years—no fancy equipment, just smart organization.
🪴 Step 1: Choose and Prepare Your Storage Containers
Use airtight, moisture-resistant containers like glass jars with tight-fitting lids or heavy-duty Mylar bags with oxygen absorbers. I prefer glass because it lets me see seed levels without opening. Clean containers thoroughly to prevent mold—even a tiny bit of old seed dust can ruin fresh batches.
Label each container immediately with the seed variety, harvest date, and storage date. A permanent marker on glass or masking tape on Mylar works well. I also include a tiny baggie with a sample seed inside the container—this way, if the label fades, I still know what I'm storing.
🌱 Step 2: Dry and Clean Seeds Before Storage
Spread seeds in a single layer on a clean, dry towel or paper towel. Let them dry for 3-5 days in a cool, dark place until they feel brittle and break easily between your fingers. This prevents moisture buildup, which causes mold and rot during storage.
For seeds with chaff or debris, use a fine mesh strainer or sift them through your fingers over a clean surface. I save the cleanest seeds for long-term storage and discard any damaged or discolored ones—even one bad seed can spoil an entire container.
💧 Step 3: Layer Seeds with Moisture Absorbers
Place a small packet of silica gel or uncooked rice in the bottom of each container before adding seeds. These act as moisture absorbers and protect the seeds from humidity. I add a second layer of rice or silica gel after pouring in the seeds—this creates a buffer zone that keeps the seeds dry.
Seal the container tightly and store it in a cool, dark place like a basement, root cellar, or even the back of a pantry. Avoid refrigerators or freezers unless you're storing seeds for decades—the temperature fluctuations can damage them over time.
⏰ Step 4: Monitor and Rotate Seed Stocks
Check your seed containers every 6-12 months to ensure the moisture absorbers are still doing their job. If the rice or silica gel feels damp, replace it immediately—even slight moisture can reduce seed viability by up to 50% in just a few months.
Use the oldest seeds first in your garden rotations. I keep a spreadsheet tracking each variety's storage date and germination tests. This way, I always know which seeds to plant first and which can wait another year.
☀️ Step 5: Test Germination Before Planting
Before using stored seeds, perform a simple germination test. Place 10 seeds between two damp paper towels in a sealed plastic bag. Keep them in a warm, dark place for 5-7 days, then check for sprouts. If at least 80% of the seeds sprout, they're still viable.
If germination rates drop below 50%, I either plant them immediately or save them for varieties I don't need right away. This ensures I only use seeds that will give me strong, healthy plants in the garden.
Tips & tricks for building a reliable garden seed bank
Smart organization makes all the difference when preserving seeds for years to come—here's what I've learned from years of trial and error.
Container Selection: Glass jars are my top recommendation because they're reusable, easy to clean, and let you monitor seed levels without opening. For long-term storage beyond 5 years, Mylar bags with oxygen absorbers are the gold standard—they block light and moisture completely. I always clean containers with a 10% bleach solution and rinse thoroughly to eliminate any lingering contaminants.
The Drying Process: Don't rush the 3-5 day drying period in Step 2—this is where most people go wrong. Seeds should feel brittle and snap easily between your fingers, not just slightly dry. I use a small fan on low to circulate air gently in my drying area, which speeds things up by about 24 hours without risking over-drying. Place seeds on a screen or mesh to allow airflow on all sides.
Moisture Absorber Strategy: In Step 3, I double down on moisture protection by using both silica gel packets AND uncooked rice. The rice acts as a secondary buffer—when the silica gel is fully saturated, the rice will still absorb excess moisture before it reaches the seeds. For extra security, especially in humid climates, I add a third layer of desiccant after sealing the container.
Labeling System: Trust me on this—label everything immediately with a permanent marker on glass or masking tape on Mylar. I've learned the hard way that faded labels lead to seed mix-ups. My system includes the seed variety, harvest date, and a brief note about any special storage conditions (like "needs cold stratification"). I also keep a separate inventory spreadsheet that matches my physical containers.
Pro Tips for Garden Seed Banks
- Smart organization makes all the difference when preserving seeds for years to come—here's what I've learned from years of trial and error.
- Container Selection: Glass jars are my top recommendation because they're reusable, easy to clean, and let you monitor seed levels without opening.
- The Drying Process: Don't rush the 3-5 day drying period in Step 2—this is where most people go wrong.
Frequently asked questions
Got questions about preserving seeds long-term?
Here are answers to the most common queries about garden seed banks—helping you avoid common pitfalls and maximize success!
What’s the best way to store seeds for long-term viability?
Use airtight containers (like glass jars or Mylar bags) with desiccant packets to absorb moisture. Store seeds in a cool, dark place (50–70°F) for optimal longevity. Label everything with the seed type and date—organization is key!
How long can seeds stay viable in a seed bank?
Most seeds last 1–5 years under ideal conditions, but some (like beans or peas) may sprout for 5–10+ years. Vegetables like tomatoes or lettuce often lose viability faster (1–2 years). Test germination annually by planting a few seeds—if <50% sprout, consider replenishing your stock.
Can I use regular kitchen containers for seed storage?
While glass jars or plastic bins can work, they’re not ideal long-term. Airtight, moisture-proof containers (like vacuum-sealed bags or food-grade buckets) prevent mold and pests. Avoid cardboard or paper—they degrade quickly and attract critters!
What happens if my seed bank gets too warm or humid?
Heat and moisture are seed killers! If stored improperly, seeds may mold, sprout prematurely, or lose viability. Move containers to a cooler spot (like a basement or fridge) and add silica gel packets to absorb excess humidity. Check periodically for condensation or musty smells—act fast if you spot them!
Are there alternatives to traditional seed banks for small gardens?
Yes! For small-scale storage, try:
- Fridge storage: Use sealed containers in the crisper drawer (short-term, 1–2 years).
- Freezer storage: Wrap seeds in aluminum foil and freeze for up to 10+ years (best for rare/heirloom seeds).
- Seed envelopes: Hang them in a dry, dark closet (1–2 years max).
Wrapping up and next steps
Garden seed banks are a game-changer for year-round gardening success! By mastering smart layering techniques, you can preserve seeds efficiently and ensure a steady supply of fresh, viable plants.
Whether you're a seasoned gardener or just starting out, these methods make it easy to keep your garden thriving—no matter the season.
Ready to take the next step? Start small—try layering just a few of your favorite seeds this fall, and watch your garden grow with confidence! 🌱💚