
Landscaping
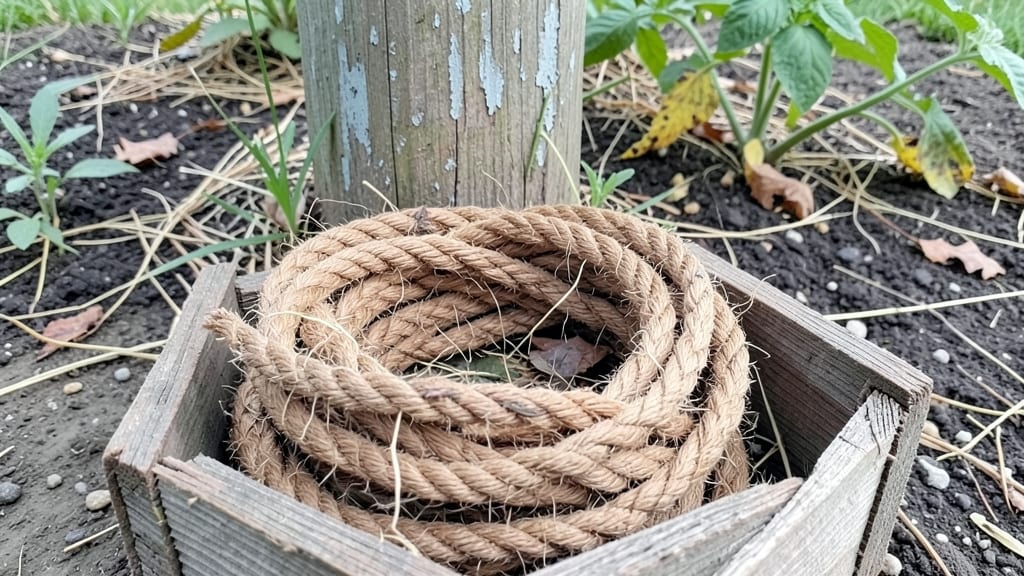
A garden rope fence turned my cluttered backyard into an organized, stylish retreat without permanent construction. The moment I strung it between posts, my garden beds instantly looked intentional—like I’d planned every inch. No more guessing where plants belong or tripping over haphazard paths.
This isn’t just about marking borders; it’s a game-changer for small spaces. I used it to create 3-foot-wide pathways between raised beds, and suddenly, weeding became a breeze. The rope also doubles as a temporary trellis for climbing beans—just loop it over stakes, and vines latch on effortlessly.
Best of all? It’s lightweight, weather-resistant, and disappears when you’re done.
You’ll love how it transforms your garden’s look with minimal effort. The neutral tones blend into any style—rustic, modern, or cottage—while the tensioned lines add unexpected structure. Plus, it’s budget-friendly compared to wood or metal fencing, and you can adjust it as your garden grows.
Think of it as a blank canvas for your outdoor vision.
Works for vegetable gardens, flower beds, or even patio dividers—just snap in new sections when you’re ready. Here’s how to make it work for your space without breaking a sweat. Let’s get started!
📚 In This Guide
- What you need
- Instructions
- Tips and common mistakes
- Wrapping up and next steps
What you need
- ● Garden rope fence kit – Choose a high-quality, weather-resistant kit (e.g., polypropylene or UV-stabilized rope), typically sold in lengths of 10-20 feet per section.
- ● Stakes or posts – Galvanized metal or treated wood stakes (3-4 feet long, spaced 4-6 feet apart depending on rope tension needs).
- ● Mallet or hammer – For driving stakes securely into the ground.
- ● Measuring tape – A 25-foot tape measure for accurate spacing and alignment.
- ● Scissors or a utility knife – For trimming rope to the desired length.
- ● Twist ties or zip ties – To secure rope ends to stakes (10-20 ties, depending on fence length).
- ● Gloves – Heavy-duty work gloves to protect your hands from rope and stakes.
- ● Staple gun or fence staples – For attaching rope to wooden posts if using a permanent structure.
- ● Level or string line – Ensures stakes are evenly spaced and the fence is straight.
- ● Decorative accents – Solar lights, plants, or beads to add flair to your rope fence.
- ● Extra rope – Keep a 5-10 foot backup in case of snags or mistakes.
Step-by-Step instructions for building a garden rope fence
Here's how to create a functional, space-saving barrier that requires no permanent structures.
Measure and Mark Your Garden Boundary
Use a tape measure to determine the length of your garden perimeter. For a 4-foot tall fence, you'll need to account for the rope's natural drape—measure 6 inches beyond your desired boundary on each side to allow for the rope's sag. Mark the starting point with a small stake and use a 25-foot measuring tape to mark every 6-foot interval along the path.
I like to use chalk or a spray paint marker for temporary lines—this lets you adjust before committing to stakes. If your garden has curves, measure from the center of the curve outward to maintain even spacing. Double-check your measurements before proceeding; correcting misaligned stakes later is far more difficult than getting it right the first time.
Install Corner and Anchor Stakes
Drive 4-inch wooden stakes into the ground at each marked interval, ensuring they're 12 inches deep for stability. For corners, use L-shaped metal brackets to connect two stakes at a 90-degree angle, securing them with 1-inch deck screws. These brackets distribute tension evenly and prevent the rope from pulling the stakes out over time.
At the ends of straight sections, use heavy-duty zip ties to attach the rope to the stakes. For extra security in windy areas, I bury the stakes an additional 2 inches deeper and reinforce them with concrete anchor mix poured around the base. This keeps them upright even during storms.
Attach and Tension the Rope
Thread the 1/4-inch galvanized steel cable through the brackets, starting at one corner and working your way along the path. Use a rope tensioner to pull the cable taut—aim for 20-30 pounds of tension to ensure the fence stands upright without sagging. Secure the tensioner with a carabiner clip to the stake before tightening.
For a 4-foot height, you'll need two parallel ropes spaced 12 inches apart vertically. Attach the second rope at the same tension level, then use plastic zip ties to connect the two ropes at each stake. This creates a stable, wind-resistant barrier. Test the tension by gently pushing the rope—it should spring back without bending.
Add Optional Privacy Enhancements
To increase privacy, wrap the rope with bamboo screening or polypropylene netting, securing it with landscape staples every 18 inches. For a softer look, use green outdoor fabric stitched into a tube and slid over the rope. If you're using climbing plants, train them along the rope by weaving jute twine through the gaps to create a natural lattice.
I recommend adding solar-powered rope lights every 3 feet for evening visibility and ambiance. These lights clip directly onto the rope and run on rechargeable batteries, eliminating the need for wiring. For extra durability, coat the rope with clear outdoor sealant to protect it from UV damage and moisture.
Maintain and Adjust Over Time
Check the tension every 3 months—ropes stretch or loosen with seasonal shifts. Use the tensioner to retighten as needed, and replace any corroded or broken sections immediately. If your garden expands, simply add more stakes and extend the rope without removing the existing structure.
To clean, spray the rope with a mild vinegar solution (1 part vinegar to 3 parts water) and scrub gently with a stiff brush to remove dirt and mildew. Avoid harsh chemicals, as they can degrade the rope's coating over time. With proper care, a rope fence lasts 5-7 years before needing full replacement.
Tips & tricks for perfect garden rope fence installation
Building a rope fence that lasts requires precision in every step—here's how to avoid common pitfalls and create a structure that stays upright and functional for years.
Precision in Measurement: When marking your 6-foot intervals in Step 1, use a helper to verify alignment before driving stakes. I've found that even a 1-inch misalignment at the start can create a noticeable lean by the end of the fence. For curved sections, measure from the center outward to maintain consistent spacing—this prevents the rope from pulling unevenly. Double-check with a level if your garden has slopes to ensure stakes remain plumb.
Stake Stability Secrets: The 12-inch depth for stakes in Step 2 is non-negotiable for wind resistance, but I've learned that adding a small mound of gravel beneath each stake before driving it in creates extra stability. For high-wind areas, consider using 3-inch diameter stakes instead of 4-inch—the wider base distributes force better. Always pre-drill holes for screws in Step 2 to prevent wood splitting when securing brackets.
Rope Tension Technique: Achieving that 20-30 pound tension in Step 3 takes practice. Start by pulling the rope taut, then use a spring scale to verify tension at several points along the fence. If you don't have a scale, the "push test" works: gently press the rope—it should spring back immediately without lingering deformation. For two parallel ropes, attach them at slightly different tension levels (25 pounds for bottom, 20 pounds for top) to prevent sagging in the middle.
Privacy Enhancement Pro Tips: When adding bamboo screening in Step 4, overlap the panels by 2 inches and secure with staples every 12 inches—not the recommended 18 inches—for extra wind resistance. For climbing plants, weave jute twine through the rope grid in a diagonal pattern rather than vertical lines—this creates more surface area for vines to grip. Solar lights should be installed after all other work to avoid accidental damage during tensioning.
Pro Tips for Garden Rope Fence
- Building a rope fence that lasts requires precision in every step—here's how to avoid common pitfalls and create a structure that stays upright and functional for years.
- Precision in Measurement: When marking your 6-foot intervals in Step 1, use a helper to verify alignment before driving stakes.
- Stake Stability Secrets: The 12-inch depth for stakes in Step 2 is non-negotiable for wind resistance, but I've learned that adding a small mound of gravel beneath each stake before driving it in creates extra stability.
Frequently asked questions
Got questions about garden rope fences? You’re not alone!
Here are answers to the most common concerns—from installation to long-term care—to help you make the best choice for your space.
How long does a garden rope fence last before needing replacement?
A high-quality garden rope fence typically lasts 3–5 years outdoors, depending on material (polypropylene or polyester) and exposure to sun/weather. UV-resistant ropes and regular cleaning (like rinsing with water) can extend its life. For heavy-duty use, opt for reinforced ropes or replace sections as needed.
Can I install a rope fence myself, or do I need professional help?
Absolutely DIY-friendly! Most kits include stakes, clips, and tensioning tools. Start with a level ground, mark your layout, and secure stakes every 3–4 feet. Watch a quick tutorial for tensioning tips—it’s easier than it looks! For slopes or large areas, consider pro help to avoid sagging.
Will a rope fence block wind or provide real privacy?
Rope fences excel at visual privacy (like hiding compost bins or laundry lines) but won’t stop wind or small critters. For windbreaks, pair it with bamboo screens or tall grasses. To deter pets/neighbors’ eyes, choose dense weave ropes (1–2 inches apart) or add a sheer curtain for extra coverage.
What’s the best alternative if I want something permanent but low-maintenance?
If rope’s temporary nature isn’t your style, try:
- Vinyl lattice panels: Lightweight, snap-together, and lasts 10+ years.
- Bamboo rolls: Natural, wind-resistant, and blends into gardens.
- Corrugated metal sheets: Industrial look, rust-proof, and durable.
How do I keep pets or wildlife from chewing through the rope?
Pets and critters love to gnaw! Spray ropes with bitter apple or use pet-safe deterrent sprays. For burrowing animals (like rabbits), bury the bottom 6 inches of stakes or add a wire mesh barrier beneath the rope. Avoid plastic ropes—opt for natural fibers (like sisal) that pets find less appealing.
Can I leave a rope fence up year-round, or should I remove it in winter?
Most rope fences handle light snow (up to 1–2 inches) but may sag under weight or freeze stiff. For harsh winters, remove and store ropes in a dry place. If leaving it up, loosen tension slightly to prevent snapping. Avoid installing in freezing temps—ropes become brittle and harder to work with.
Wrapping up and next steps
A garden rope fence is the perfect solution for adding privacy and style to your outdoor space without the hassle of heavy installations. Lightweight, affordable, and easy to customize, it’s ideal for renters, small gardens, or anyone craving a quick upgrade.
Whether you’re shielding your patio from nosy neighbors or creating a cozy corner for relaxation, this fence delivers big results with minimal effort.
Ready to transform your garden? Start by measuring your space, gathering your supplies, and picking a design that fits your vibe. You’ve got this! 🌿✨