
Fertilization
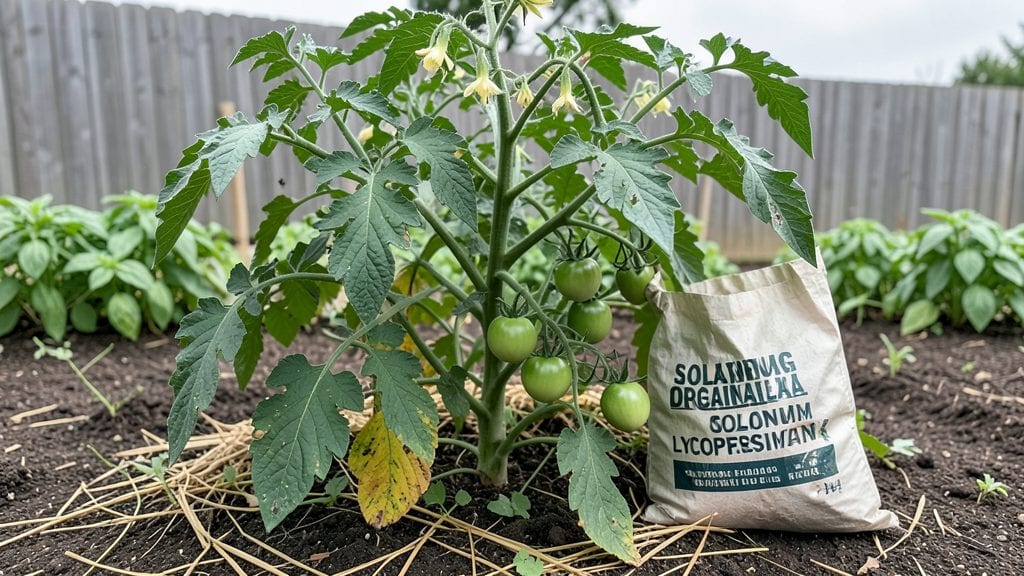
Fertilizing garden soil isn’t just about throwing down bags of miracle-gro—it’s about feeding your plants the right nutrients at the right time so they grow stronger than ever. 🌱 I’ve spent years experimenting with different methods, and the difference between lifeless soil and thriving beds is often just a matter of smart feeding.
The key is understanding what your soil actually needs before you start dumping anything on it.
Start with a simple soil test—most extension offices sell kits for under $20—and you’ll know exactly what’s missing. Then choose your fertilizer: compost for long-term health, manure for quick nitrogen, or slow-release granules for steady growth.
I’ve found that layering organic matter like leaf mold or worm castings keeps nutrients available without burning plants, while synthetic fertilizers give an immediate boost when needed.
Within three weeks, you’ll see plants reaching for the sky with deeper green leaves and more robust stems. Tomatoes will set fruit faster, herbs will stay lush, and even stubborn perennials will perk up.
The secret is consistency—feed at planting, again in midsummer, and a final light dose before winter to keep microbes happy. Over-fertilizing is easy, but I’ll show you how to avoid that too.
This works for vegetable gardens, flower beds, and even lawns—just adjust the ratios. The goal isn’t just quick results, but soil that keeps giving year after year. Let’s get your garden the nutrients it’s been begging for.
📚 In This Guide
- What you need
- Instructions
- Tips and common mistakes
- Wrapping up and next steps
What you need
- ● Organic Fertilizers (Choose 1-2): Compost (5–10 gallons, homemade or store-bought)
- ● Well-rotted manure (5–10 lbs, cow, horse, or chicken—avoid fresh!) 🐄
- ● Worm castings (2–3 lbs for small gardens, 5+ lbs for larger plots)
- ● Bone meal (1–2 lbs for phosphorus-rich soil)
- ● Kelp meal or seaweed (1–2 lbs for micronutrients)
- ● Soil Amendments: Peat moss or coconut coir (2–3 cubic feet to improve drainage)
- ● Perlite or vermiculite (1–2 gallons for aeration)
- ● Tools: Garden fork or tiller (for mixing deeply, 6–12" depth)
- ● Garden gloves (1 pair, heavy-duty for protection)
- ● Wheelbarrow or large bucket (5+ gallons for hauling materials)
- ○ pH testing kit (optional but helpful for fine-tuning)
- ● Slow-release fertilizers (e.g., Osmocote, 5–10 lbs for long-term feeding)
- ● Biochar (1–2 lbs to boost microbial activity)
- ● Mulch (straw, wood chips, or leaves to retain moisture)
- ● Compost tea (homemade or store-bought for a nutrient boost)
- ● Soil microbes (e.g., Mycorrhizal fungi for root health)
Step-by-step guide to fertilizing garden soil
Here's how to transform your garden soil into nutrient-rich earth in just three weeks.
🌱 Step 1: Test Your Soil First
Before adding anything, grab a small handful of soil and squeeze it. If it crumbles easily, it's likely sandy and needs organic matter. If it sticks together like clay, you'll want to loosen it up. A simple pH test kit (available at garden centers) tells you if your soil is too acidic or alkaline—most vegetables prefer a neutral 6.0-7.0 range.
I like to test in multiple spots since soil varies even within a small garden. Dig a hole about 6 inches deep—this is where roots will grow, so this is where nutrients matter most. If your soil smells sour or looks grayish, it's time to boost those nutrients. This step ensures you don't waste fertilizer on soil that already has plenty.
💧 Step 2: Add Organic Matter for Long-Term Health
Spread a 2-3 inch layer of well-rotted compost over your garden bed. This isn't just about nutrients—compost improves soil structure, helps water drain properly, and feeds beneficial microbes. Work it into the top 6 inches of soil using a garden fork or tiller. You'll see the soil darken as you mix, which means it's getting richer in organic material.
For faster results, mix in a ½ cup of worm castings per square foot. Worm castings release nutrients slowly but immediately boost microbial activity. Water the area lightly after mixing to help the organic matter settle into the soil. This step takes about an hour for a 4x4 foot bed, but it's worth the time—your plants will reward you with stronger growth.
☀️ Step 3: Apply a Balanced Fertilizer
Choose a balanced fertilizer (like 10-10-10) and sprinkle it evenly over the bed at the rate recommended on the package. For most garden soils, that's about 1 pound per 100 square feet. Use a broadcast spreader for even coverage—don't just dump it in one spot. Lightly scratch the fertilizer into the top inch of soil with a rake to prevent it from washing away during watering.
If your soil test showed a deficiency in a specific nutrient (like nitrogen or phosphorus), use a targeted fertilizer instead. For example, if your plants look pale green, they're likely nitrogen-deficient. Water the area thoroughly after applying fertilizer to help it dissolve and move into the soil. This step ensures nutrients are accessible to plant roots right away.
⏰ Step 4: Water and Monitor for 3 Weeks
Keep the soil consistently moist for the next 3 weeks—not soggy, just damp like a wrung-out sponge. This gives the organic matter and fertilizer time to break down and integrate into the soil. You'll notice the soil darkening further and smelling earthier as microbes do their work. Avoid heavy foot traffic or tilling during this time, as it disrupts the soil structure and slows nutrient absorption.
After three weeks, dig a small hole to check progress. The soil should feel lighter, crumbly, and richer. If you planted a test crop (like radishes or lettuce), you'll see faster germination and stronger seedlings—proof that your soil is working. This is the moment you'll see all your efforts pay off in healthier, more vibrant plants.
Tips & tricks for perfectly fertilized garden soil
Transforming your garden soil into nutrient-rich earth takes patience and precision—here are the key tricks to maximize your efforts and avoid common mistakes.
Soil Testing Accuracy: Don't rely on just one spot when testing your soil. Grab samples from multiple areas of your garden, especially if it's large or has different exposures to sun. I once tested only the sunny side and missed the fact that the shady side was severely nitrogen-deficient—this caused stunted growth in my tomatoes. Mix these samples together for a more representative reading. The 6.0-7.0 pH range is ideal for most vegetables, but some plants like blueberries prefer acidic soil around 4.5-5.5.
Compost Quality Matters: That 2-3 inch layer of compost you're spreading should be well-rotted and crumbly, not clumpy or smelly. Fresh manure or unrotted compost can burn plants and attract pests. I've learned the hard way—once used horse manure that was only "partially composted," and my carrots ended up with stunted growth. Look for dark brown compost with a pleasant earthy smell. If you're making your own, turn your compost pile regularly to speed up decomposition.
Fertilizer Application Technique: When applying that 1 pound per 100 square feet of balanced fertilizer, use a broadcast spreader for even distribution. I've seen gardeners create fertilizer "puddles" by just dumping it in one spot, which leads to uneven plant growth. After spreading, lightly rake it into the top inch of soil—this prevents it from washing away during your first watering. For targeted deficiencies, consider using slow-release granules that dissolve over time rather than quick-release fertilizers that can burn roots.
Monitoring the 3-Week Process: During those crucial 3 weeks of monitoring, set a reminder to check your soil moisture daily. The "wrung-out sponge" test is perfect—squeeze a handful, and if water drips out immediately, it's too wet. If it crumbles completely, it's too dry. I keep a spray bottle handy for quick touch-ups. Also, avoid walking on the bed—your footprints compact the soil and disrupt the microbial activity we're trying to encourage. Think of this period as a delicate dance between moisture, microbes, and nutrients.
Pro Tips for Fertilizing Garden Soil
- Transforming your garden soil into nutrient-rich earth takes patience and precision—here are the key tricks to maximize your efforts and avoid common mistakes.
- Soil Testing Accuracy: Don't rely on just one spot when testing your soil.
- Compost Quality Matters: That 2-3 inch layer of compost you're spreading should be well-rotted and crumbly, not clumpy or smelly.
Frequently asked questions
Got questions about fertilizing your garden soil? You’re not alone! Here are some of the most common concerns—and straightforward answers—to help you get started with confidence.
How often should I fertilize my garden soil?
For most plants, fertilizing every 4–6 weeks during the growing season (spring to fall) keeps nutrients balanced. Heavy feeders like tomatoes or peppers may need monthly applications. Always follow the product’s guidelines—overdoing it can harm plants or pollute waterways.
Can I fertilize soil too soon after planting?
Yes! Wait 2–4 weeks after planting seedlings or transplanting to avoid burning roots. For new garden beds, fertilize before planting to give nutrients time to integrate. Always water thoroughly after applying fertilizer to help it sink into the soil.
Are homemade fertilizers as effective as store-bought ones?
Homemade options like compost, coffee grounds, or banana peels (for potassium) work wonders. Store-bought fertilizers offer precise nutrient ratios, but organic amendments improve soil structure long-term. Mix both for the best results—your wallet and plants will thank you!
Why did my plants turn yellow after fertilizing?
Yellowing leaves often signal over-fertilization or nutrient burn. Flush the soil with water to dilute excess salts, and reduce future applications. If the problem persists, test your soil’s pH—imbalances can also cause discoloration. Always follow package rates!
What’s the best fertilizer for beginners?
Start with a balanced, slow-release fertilizer (like 10-10-10 or organic options such as fish emulsion). These provide steady nutrients without overwhelming your plants. Avoid synthetic chemicals until you’re comfortable—organic fertilizers are gentler and build healthier soil over time.
Wrapping up and next steps
Fertilizing your garden soil doesn’t have to be complicated—just consistent! With the right organic amendments and a little patience, you’ll see healthier plants and richer harvests in just 3 weeks. Start small, test your soil, and let nature do the rest. 🌱
Ready to transform your garden? Pick one method from this guide and begin today! Whether you’re a beginner or a seasoned green thumb, every shovel of compost or drop of liquid fertilizer brings you closer to a thriving garden. Happy growing!