Landscaping
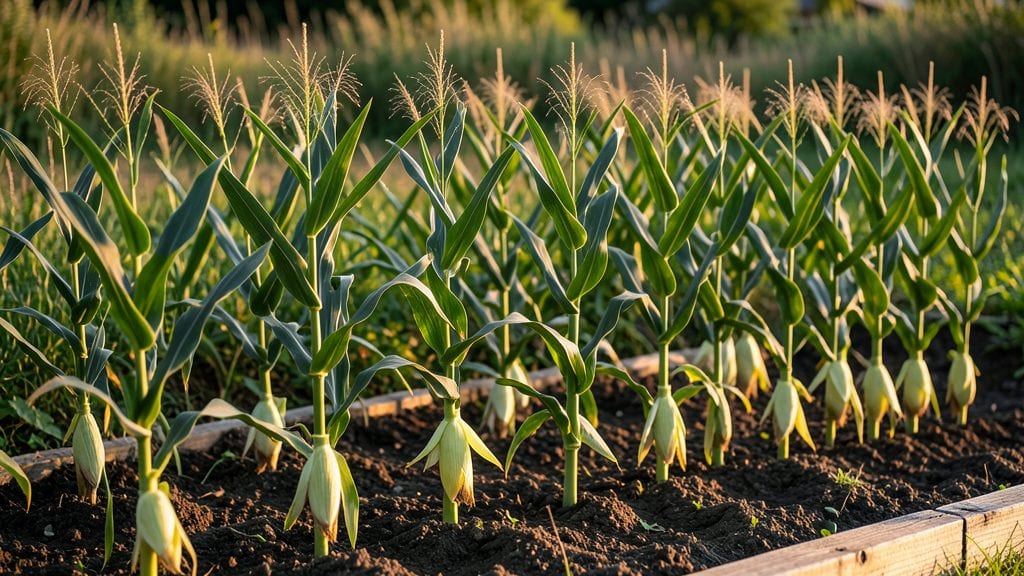
A corner fence garden turns an awkward space into your yard's secret gem. ✨ I was skeptical about using a fence corner for anything but weeds, but the right plant mix creates a lush, private nook that feels intentional—not cramped.
The key is choosing plants that thrive in tight spaces while adding height, texture, and seasonal interest.
Start with a mix of evergreens like boxwood or holly for year-round structure, then layer in climbers like clematis or roses for vertical drama. Add perennials like hostas or ferns for softness, and don’t forget ground covers like creeping thyme to fill gaps.
This combo works in sun or partial shade, and most plants need minimal fuss once established.
By summer, you’ll have a vibrant living wall that blocks nosy neighbors while adding beauty to your yard. The fragrance from blooming roses or the rustling of ornamental grasses creates a serene retreat—perfect for morning coffee or quiet reading. Plus, it’s easier on your budget than a traditional privacy fence.
Works for any yard size, from urban backyards to suburban corners. The same principles apply whether you’re working with 4 feet of space or 10. Let’s make that fence corner work for you!
📚 In This Guide
- What you need
- Instructions
- Tips and common mistakes
- Wrapping up and next steps
What you need
- ● Fencing materials: 10–12 ft of privacy lattice panels (6 ft tall, 2 ft wide) or wooden pickets (for a classic look)
- ● Trellis or wire mesh (if building a climbing plant structure)
- ● Plants: 6–10 fast-growing vines (e.g., ivy, jasmine, or wisteria)
- ● 3–5 shrubs or small trees (e.g., boxwood, bamboo, or ornamental grasses)
- ● 1–2 flowering climbers (e.g., clematis or roses for color)
- ● Soil & amendments: 2–3 bags of well-draining potting mix or garden soil
- ● 1 bag of compost or organic fertilizer (for nutrient boost)
- ● Hardware: Screws, nails, or L-brackets (for securing fencing)
- ● Measuring tape, level, and drill/driver
- ● Drip irrigation system (for low-maintenance watering)
- ● Solar-powered lights (to highlight your garden at night)
- ● Decorative stones or mulch (for a polished finish)
- ● Vertical planters (to add extra greenery without extra space)
How to create a stunning corner fence garden
Transform that awkward corner into a thriving, private retreat with these simple steps.
🪴 Step 1: Plan and Prepare Your Space
Start by measuring your corner space—aim for at least 4 feet wide along each fence to create a balanced look. Clear away weeds, rocks, and debris, then mark the planting area with stakes and string to visualize your design. I like to sketch a rough layout first, noting where taller plants will go at the back and shorter ones up front.
Dig up the soil to a depth of 6-8 inches, breaking up any compacted areas with a garden fork. This ensures roots can spread easily. If your soil is heavy clay or sandy, mix in 2-3 inches of compost to improve drainage and fertility. The goal is loose, crumbly soil that holds moisture without becoming waterlogged.
☀️ Step 2: Choose the Right Plants for Privacy and Beauty
For a lush, fast-growing screen, I recommend a mix of evergreens like boxwood or holly for structure, paired with flowering shrubs such as hibiscus or butterfly bush for color. Add climbing plants like clematis or jasmine to soften the edges and create movement. Space plants 3-5 feet apart, depending on their mature size.
Group plants with similar water needs together—this makes maintenance easier. For example, place drought-tolerant succulents like sedum near the front where they’ll get less moisture, and keep thirstier plants like hostas toward the back. Mulch the area with 2-3 inches of shredded bark to retain moisture and suppress weeds.
🌱 Step 3: Plant with Care for Long-Term Success
Dig holes twice as wide as the root ball but no deeper—this prevents burying the stem too far, which can cause rot. Gently remove the plant from its container and loosen any circling roots with your fingers. Place it in the hole so the top of the root ball sits level with the ground, not buried.
Fill the hole with soil, pressing lightly around the edges to remove air pockets. Water deeply right away to settle the soil and encourage roots to spread. I like to add a slow-release fertilizer at this stage to give plants a nutrient boost without the risk of burning tender roots. After planting, water again to ensure the soil stays moist for the first few weeks.
💧 Step 4: Water and Maintain for a Thriving Garden
Water your new corner garden once a week for the first month, giving each plant 1-2 gallons of water. Check the soil 1 inch below the surface—if it’s dry, it’s time to water. Avoid wetting the leaves, especially in the evening, to prevent fungal diseases. Mulch again after watering to keep moisture locked in.
Prune plants as needed to encourage bushier growth. For example, cut back leggy stems on shrubs by one-third in early spring, and deadhead spent flowers to promote more blooms. Keep an eye out for pests like aphids or spider mites—spray with soapy water if you spot them early. With consistent care, your corner garden will fill out beautifully within a year.
✂️ Step 5: Add Finishing Touches for Year-Round Appeal
Incorporate seasonal interest by adding annuals like impatiens for summer color or ornamental grasses for winter texture. Place a few solar-powered garden lights along the fence to highlight the plants at night. I also like to add a small trellis or two for climbing plants to create vertical layers.
Step back and admire your work! A well-planned corner garden not only provides privacy but also adds value to your outdoor space. With a little patience, your living wall will grow into a lush, vibrant retreat that you’ll love spending time in.
Tips & tricks for perfect corner fence gardens
A few strategic moves will help you avoid common pitfalls and create a corner garden that thrives year-round.
Soil Preparation Secret: Before planting, test your soil's pH—most plants prefer a neutral range (6.0-7.0). If your soil is too acidic, mix in lime (about 1 pound per 100 square feet) when amending with compost. I've seen gardens fail because the soil was too alkaline for the chosen plants. A simple $10 soil test kit from your garden center solves this mystery before you dig.
Plant Placement Pro: In Step 2, when arranging your plants, place taller varieties like boxwood or holly against the fence itself—they'll create an instant privacy screen while you wait for other plants to fill out. For the front row, choose plants that mature at 2-3 feet tall like impatiens or sedum to frame the space beautifully. This creates visual layers that make your garden look more established right away.
Watering Wisdom: The once-weekly watering in Step 4 works best with deep watering—aim for those 1-2 gallons per plant to encourage roots to grow downward rather than staying shallow. I use a watering wand with a gentle spray setting to avoid disturbing the soil around young plants. Morning watering (before 10am) prevents fungal issues and gives plants time to dry out during the day.
Long-Term Maintenance Hack: Mark your planting layout with landscape fabric stakes after planting—this creates a visual guide for future pruning and watering. I also recommend installing a simple drip irrigation system ($30-$50) along the fence line. It saves time and ensures consistent moisture, especially during hot summer months when your garden needs that weekly 1-2 gallons per plant to thrive.
Pro Tips for Corner Fence Garden
- A few strategic moves will help you avoid common pitfalls and create a corner garden that thrives year-round.
- Soil Preparation Secret: Before planting, test your soil's pH—most plants prefer a neutral range (6.0-7.0).
- Plant Placement Pro: In Step 2, when arranging your plants, place taller varieties like boxwood or holly against the fence itself—they'll create an instant privacy screen while you wait for other plants to fill out.
Frequently asked questions
Got questions about corner fence gardens? You’re not alone!
Here are some of the most common queries—plus straightforward answers to help you plan your perfect privacy oasis.
What’s the best time of year to plant a corner fence garden?
For most climates, spring or early fall are ideal—when temperatures are mild, and plants can establish roots before extreme weather. If you’re in a warm zone, winter planting can work too! Just ensure your plants get enough water during dry spells.
How much does a corner fence garden cost to install?
Costs vary widely: DIY projects (using trellises or climbing plants) can run $50–$200, while professional installations with pre-planted screens or lattice systems may cost $500–$2,000+. Factor in soil prep, plants, and materials like bamboo or metal screens for extra privacy.
Can I use a corner fence garden for noise reduction?
Dense, leafy plants like bamboo, ivy, or arborvitae act as natural sound barriers. For best results, combine them with a solid screen (e.g., lattice or slatted wood) to block low-frequency noise. Aim for a height of at least 6–8 feet for maximum effect.
How do I keep pests away from my corner fence garden?
Prevent pests with healthy soil (rich in compost), neem oil sprays, and companion planting (e.g., marigolds repel aphids). Avoid overwatering, and prune regularly to improve airflow. If pests strike, handpick them or use organic insecticidal soap.
What if my fence isn’t sturdy enough to support climbing plants?
No problem! Use a freestanding trellis or install metal brackets to reinforce weak spots. For lightweight options, try fast-growing vines like morning glories or clematis. If your fence is chain-link, add a vinyl or wood privacy panel first for extra support.
Will a corner fence garden survive harsh winters?
Yes, but choose cold-hardy plants like evergreens (e.g., boxwood, holly) or perennials (e.g., Russian sage, butterfly bush). Mulch the base in late fall to protect roots, and consider winter wraps for young plants. If using annuals, opt for seasonal replacements in spring.
Wrapping up and next steps
A corner fence garden isn’t just a stylish addition—it’s a smart way to boost privacy, beauty, and even your property’s value! 🌿 Whether you’re using climbers, trellises, or layered plants, the key is to start small, plan thoughtfully, and let nature do the work.
With the right materials and a little creativity, you’ll transform an awkward space into a thriving, functional oasis.
Ready to get growing? Pick your favorite plants, sketch a simple design, and take the first step today! Your future self—and your neighbors—will thank you. 🌱